Skip to content

How to make a snow globe tumbler is a question many are asking, as the DIY crafts market booms, projected to reach $74.27 billion by 2033, according to a recent report. This surge highlights the desire for personalized items, and these mesmerizing creations are a perfect example. If you're ready to dive into this sparkling trend, this guide will walk you through the easy steps to create your own unique snow globe tumbler.

What is Snow Globe Tumbler?
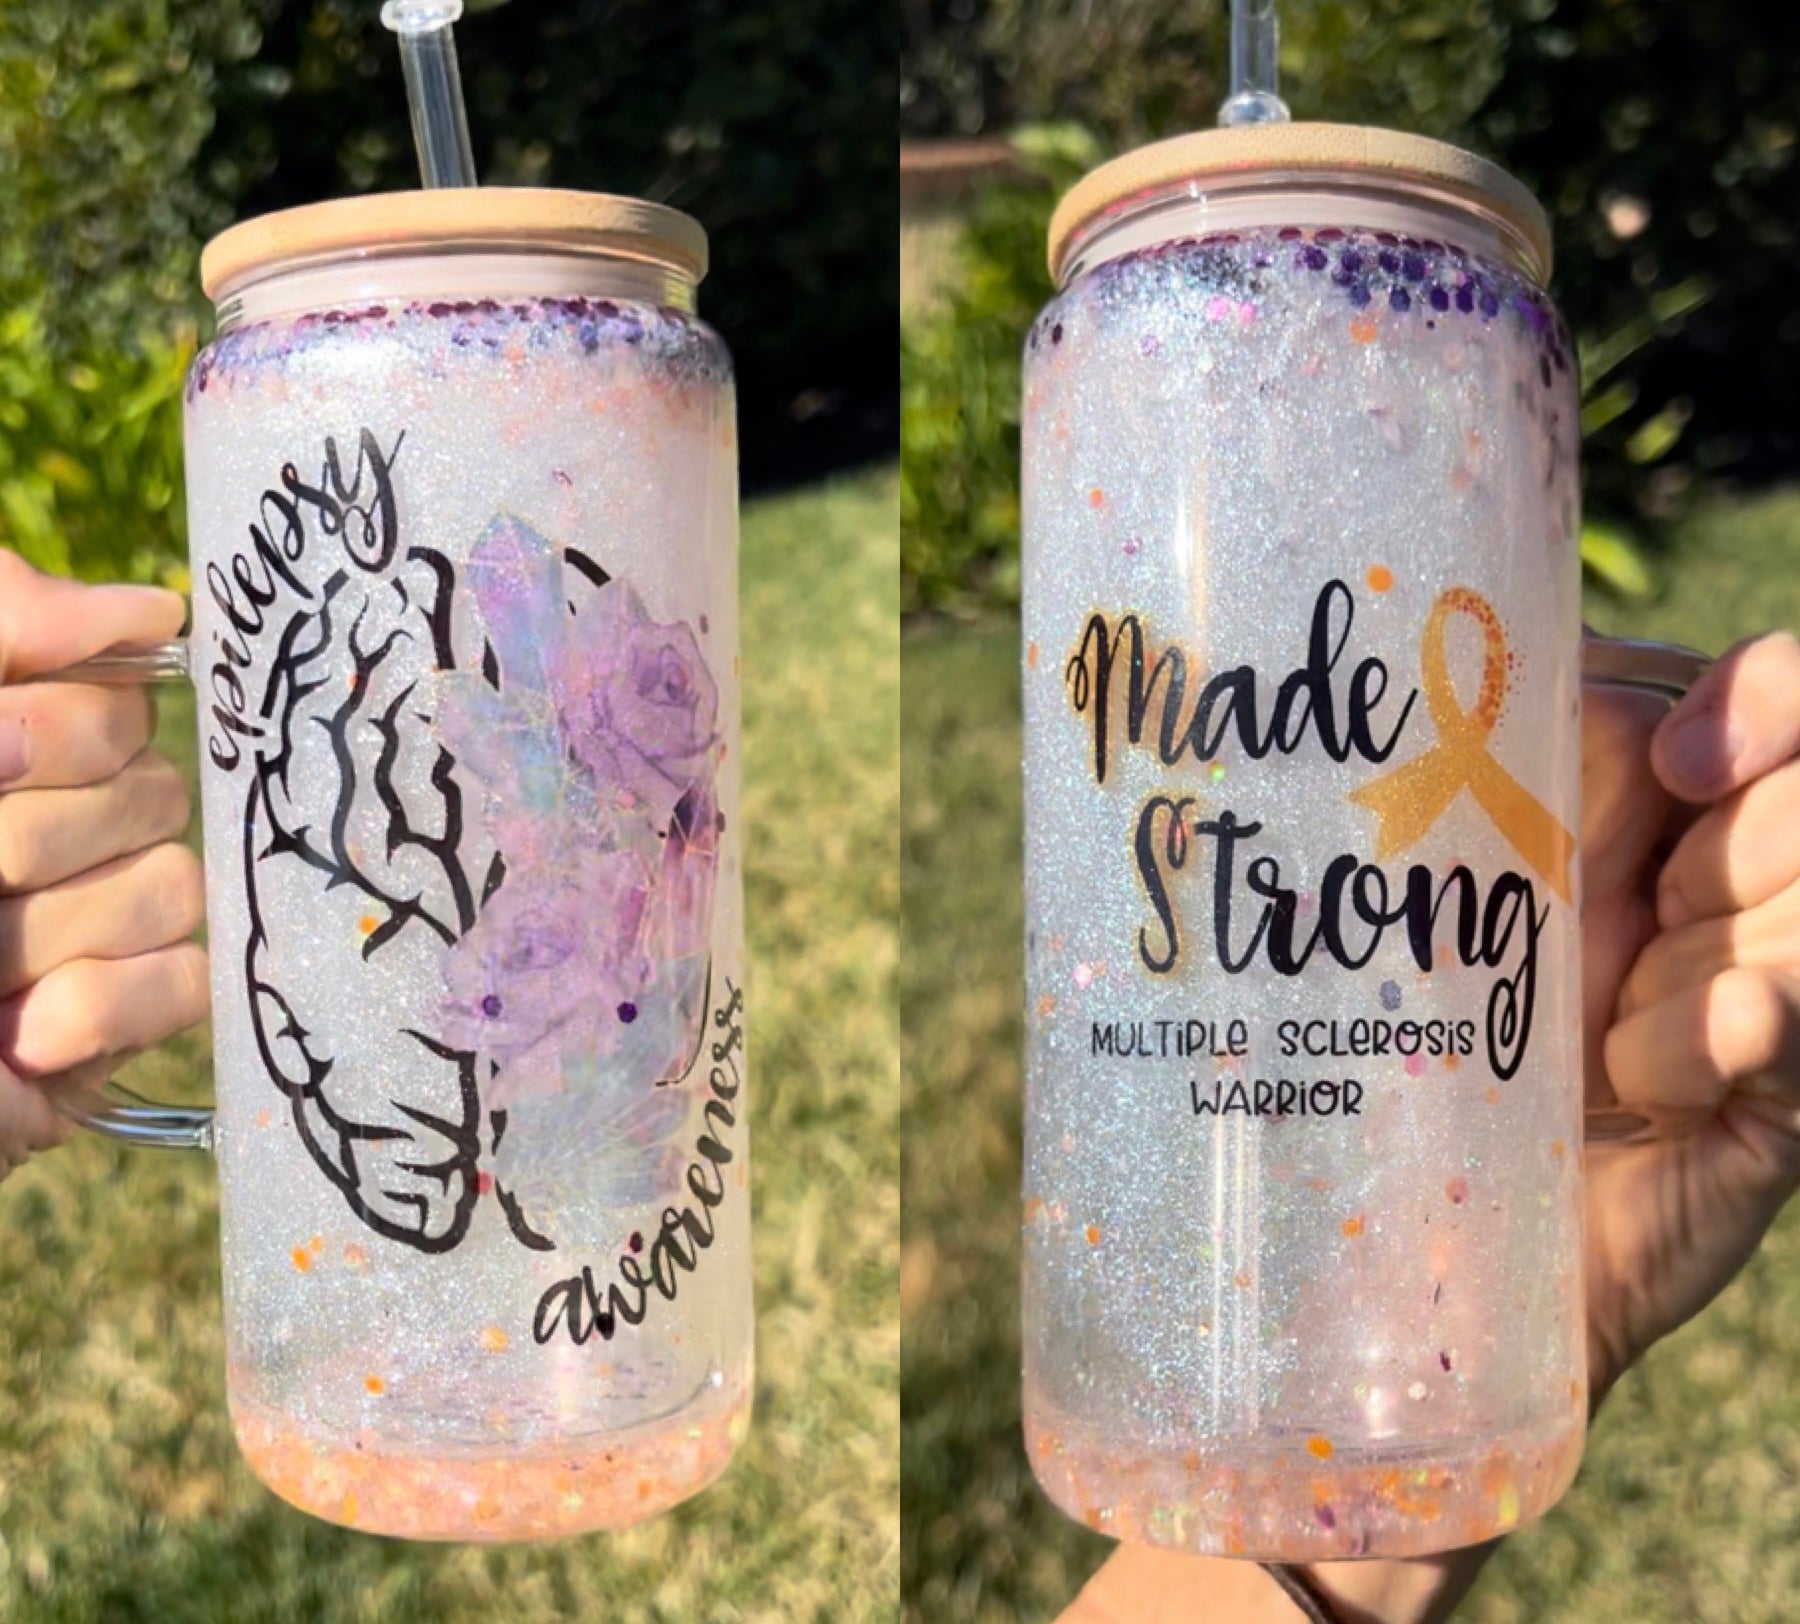
A snow globe tumbler is a double-walled tumbler filled with liquid, glitter, and sometimes small decorative elements, creating a swirling, snow globe-like effect. It's a fun and customizable way to add sparkle to your drinkware.

Why is Snow Globe Tumbler so popular?
Visual Appeal
The dynamic interplay of light and glitter within the liquid creates a captivating visual spectacle, drawing the eye and sparking conversation. The constant movement of the glitter, combined with any added charms or decorative elements, provides a soothing, almost hypnotic effect.
Customization
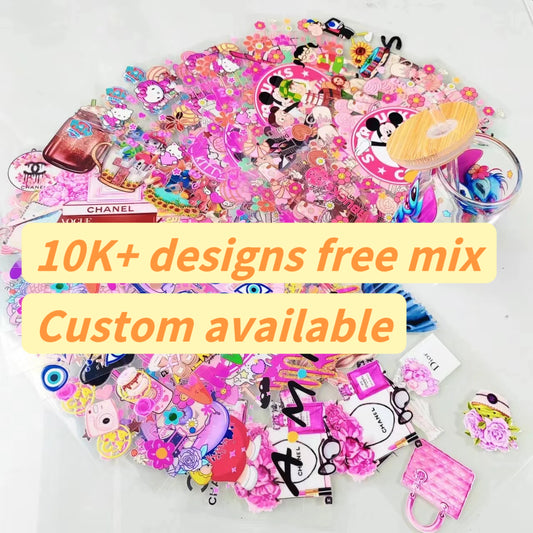
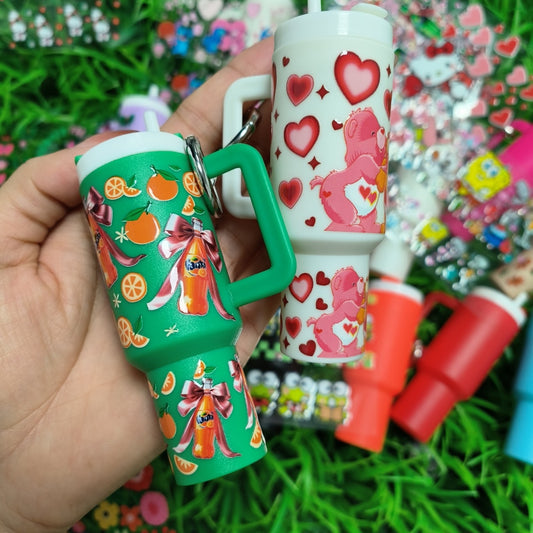
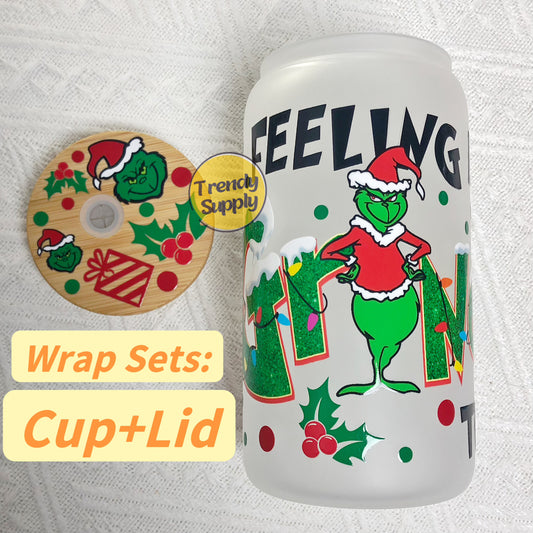
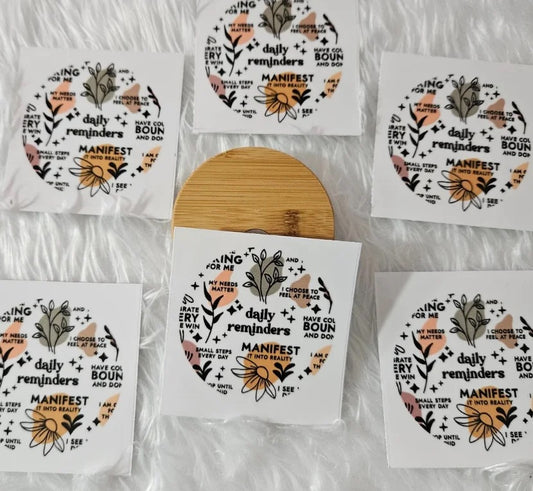
The sheer variety of glitter colors, sizes, and textures available allows for endless personalization. You can mix and match glitters to create unique color combinations, or add charms and beads that reflect your personal style or the theme of a gift. Beyond the internal elements, the exterior of the tumbler can be further customized with UV DTF wraps, paint, or other decorative techniques.

Trending
The popularity of snow globe tumblers on social media platforms like TikTok and Instagram has created a viral sensation, with countless creators showcasing their unique designs and techniques. This trend has not only driven demand for these tumblers but also fostered a vibrant online community of crafters sharing tips and inspiration.
Gift-ability
Snow globe tumblers make exceptionally thoughtful and personalized gifts for any occasion. Whether it's a birthday, holiday, or just a gesture of appreciation, a handmade snow globe tumbler shows that you've put time and effort into creating something special. The ability to customize the tumbler to the recipient's preferences makes it an even more meaningful gift.

Creative Outlet
The process of making a snow globe tumbler is a fun and engaging DIY project that allows you to unleash your creativity. From selecting the perfect glitter combination to arranging decorative elements, every step is an opportunity for artistic expression. The hands-on nature of the project provides a sense of accomplishment and satisfaction.
How can crafters benefit from Snow Globe Tumbler?
Expand Product Offerings
Offer unique and trendy tumblers to your customers.
Increase Creative Freedom
Experiment with different designs and materials.
Boost Sales
Capitalize on the popularity of snow globe tumblers.
Offer Personalized Gifts
Create custom tumblers for special occasions.
Enhance Social Media Presence
Showcase your creations and attract new customers.
Different materials of Snow Globe Tumbler
Acrylic
Commonly used due to its clarity and durability.
Stainless Steel
Offers insulation and a more premium feel.
Plastic
A budget-friendly option, often used for novelty tumblers.
How to make a snow globe tumbler
Prepare the Blank:
-
Thorough Cleaning: Begin by thoroughly cleaning the double-walled tumbler. Use warm, soapy water and a soft cloth to remove any dust, debris, or residue from both the interior and exterior surfaces. Pay special attention to the inside walls, as any particles could become trapped in the liquid and detract from the final appearance.
-
Complete Drying: Ensure the tumbler is completely dry before proceeding. Any moisture left inside could affect the liquid mixture or cause unwanted condensation. Use a clean, lint-free cloth to dry the tumbler, or allow it to air dry completely.
Create a Fill Hole:
-
Precision Drilling: Carefully drill a small, discreet hole in the bottom of the outer wall of the tumbler. Use a drill bit that is appropriate for the material of the tumbler to prevent cracking or damage. The hole should be just large enough to accommodate a syringe or pipette for filling.
-
Smooth Edges: After drilling, smooth any rough edges around the hole with sandpaper or a deburring tool to prevent damage to the syringe or pipette during filling.
Mix the Liquid:
-
Glycerin or Glue Mixture: In a separate, clean container, combine water with glycerin or clear glue. The ratio of glycerin or glue to water will affect the speed at which the glitter falls. Experiment with different ratios to achieve your desired effect. A 1:1 ratio is a common starting point.
-
Glitter Addition: Add your chosen glitter to the liquid mixture. Consider the size, color, and texture of the glitter to create the desired visual effect. You can also add small charms, beads, or sequins to enhance the "snow globe" effect.
Add Decorations:
-
Placement and Arrangement: Carefully place any decorative elements, such as charms or beads, into the liquid mixture. Consider the size and weight of the elements, as they will affect their movement within the liquid. Arrange them in a way that creates a visually appealing composition.
Fill the Tumbler:
-
Syringe or Pipette Injection: Carefully inject the liquid mixture into the fill hole using a syringe or pipette. Avoid creating air bubbles during the filling process. Fill the tumbler almost to the top, leaving a small air gap to allow for expansion.
-
Air Bubble Removal: If air bubbles do form, gently tap the tumbler or use a toothpick to release them.
Seal the Hole:
-
Epoxy Resin Application: Seal the fill hole securely with epoxy resin or another suitable sealant. Apply the sealant according to the manufacturer's instructions.
-
Curing Time: Allow the sealant to cure completely before handling the tumbler. This will ensure a strong and durable seal.
Decorate the Exterior:
-
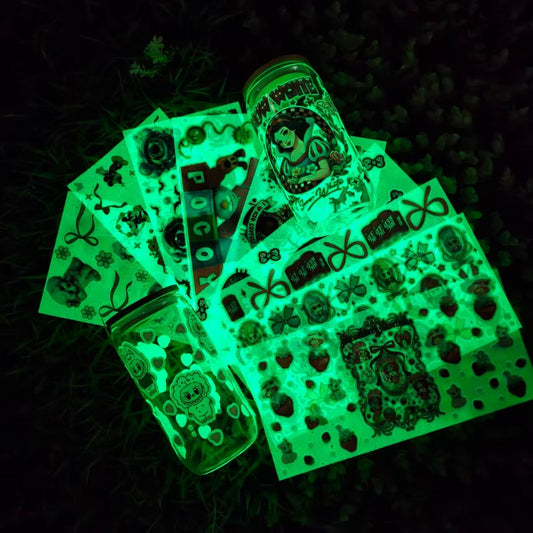
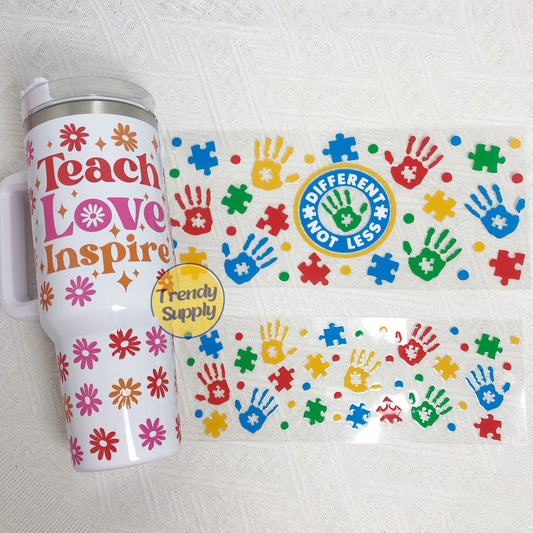
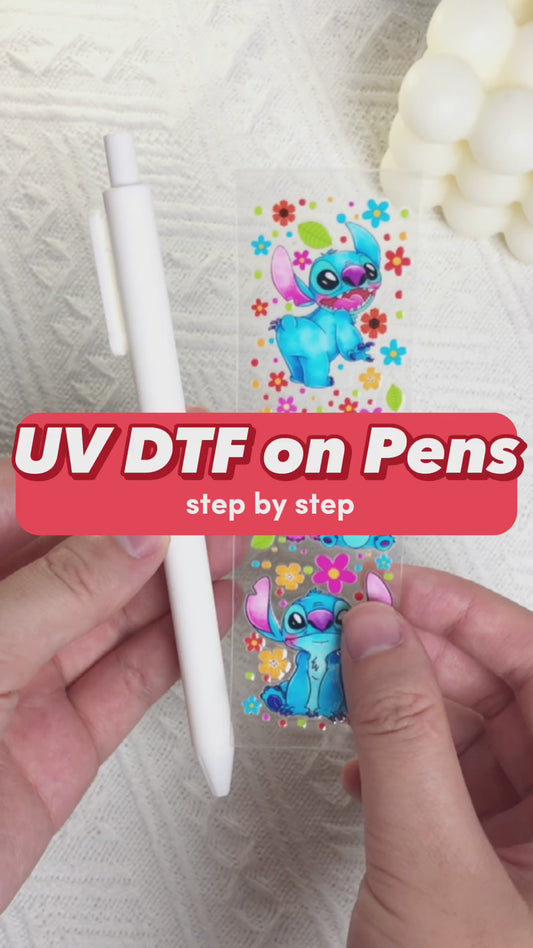
UV DTF Wraps or Other Decorations: Apply UV DTF wraps or other decorative elements to the outer wall of the tumbler. This is where you can add your personal touch and customize the tumbler's appearance.
-
Secure Attachment: Ensure the decorations are securely attached and complement the overall design.
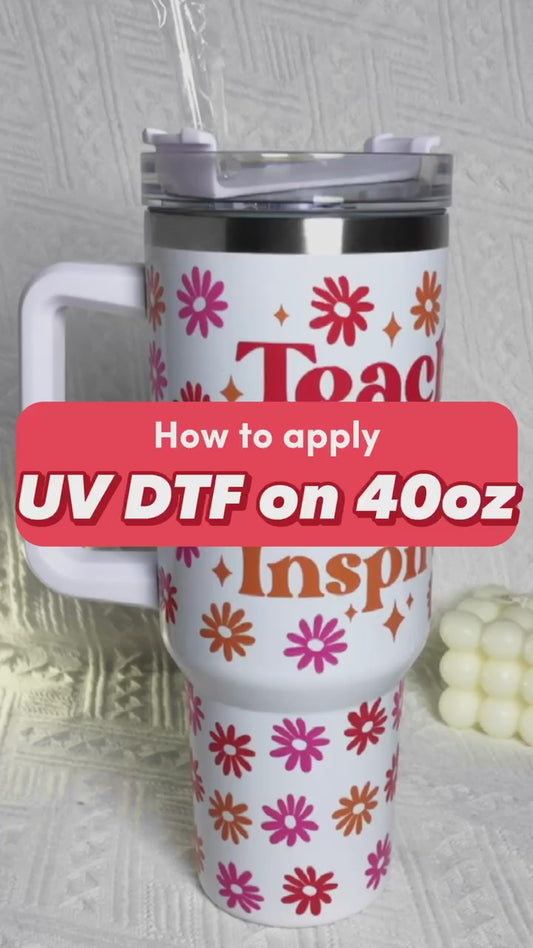
How to apply UV DTF Wraps to Snow Globe Tumbler?
Prepare the Surface:
-
Thorough Cleaning with Isopropyl Alcohol: Begin by meticulously cleaning the outer surface of the snow globe tumbler with isopropyl alcohol. This ensures that any oils, dust, or residue that could interfere with the adhesion of the UV DTF wrap are completely removed. Use a lint-free cloth to prevent any fibers from adhering to the surface.
-
Complete Drying: Allow the isopropyl alcohol to evaporate completely, leaving the tumbler surface dry and ready for application. This step is crucial, as any remaining moisture can prevent the wrap from adhering properly.
Peel the Backing:
-
Careful Separation: Carefully peel the backing paper from the UV DTF wrap, exposing the adhesive side of the design. Handle the wrap by the edges to avoid touching the adhesive with your fingers, as this can transfer oils and reduce adhesion.
-
Precise Handling: Ensure the design is not stretched or distorted during the peeling process, as this can affect its appearance on the tumbler.
Position the Wrap:
-
Accurate Alignment: Align the UV DTF wrap with the desired location on the tumbler with precision. Start by aligning one edge and gently press it down, ensuring it's straight and centered.
-
Gentle Application: Apply the wrap gently to avoid creating air bubbles or wrinkles.
Smooth the Wrap:
-
Squeegee Technique: Use a squeegee or a similar tool to smooth out any air bubbles or wrinkles from the center of the wrap outwards. Apply even pressure to ensure a smooth, seamless application.
-
Careful Contouring: If the tumbler has a curved surface, gently contour the wrap to its shape, ensuring it adheres smoothly without any creases or folds.
Remove the Transfer Film:
-
Careful Removal: Carefully peel off the clear transfer film, leaving the design adhered to the tumbler. Do this slowly and at a sharp angle to prevent lifting the design.
-
Adhesion Check: Inspect the applied design for any areas that may not be fully adhered. If necessary, gently press and smooth any lifted areas.
-
Final Set: Allow the applied design to set for a few minutes to ensure a strong bond before handling or using the tumbler.
Can you use fine glitter in snow globe tumbler?
Yes, fine glitter creates a subtle shimmer. A mix of fine and chunky glitter is often preferred.
How much glitter for a snow globe tumbler?
Use 1-2 tablespoons of glitter per tumbler, adjusting to your preference.
How much glycerin for snow globe tumbler?
A 1:1 ratio of glycerin to water is common. Adjust for desired thickness. Clear glue can be substituted.
How to fill a snow globe tumbler?
Mix Liquid
Combine water, glycerin/glue, and glitter.
Use Syringe
Fill a syringe with the mixture.
Inject Liquid
Carefully inject into the fill hole.
Fill to Top
Leave a small air gap for expansion.
How to get air bubbles out of snow globe tumbler?
Inject Slowly
Minimize bubbles while filling.
Tap Tumbler
Gently tap to release trapped air.
Allow to Settle
Let it sit for bubbles to rise.
Add Liquid
Add more liquid if needed.
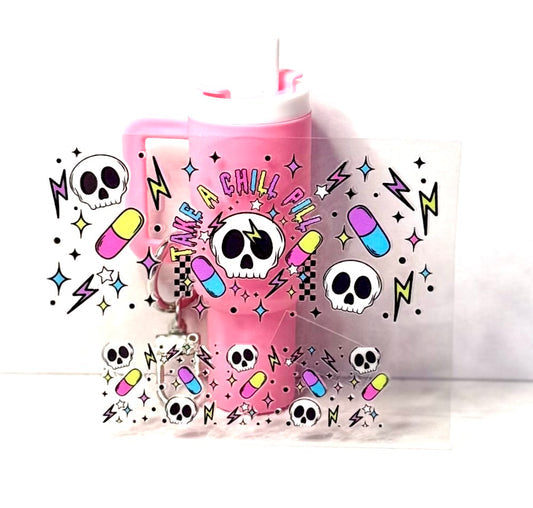
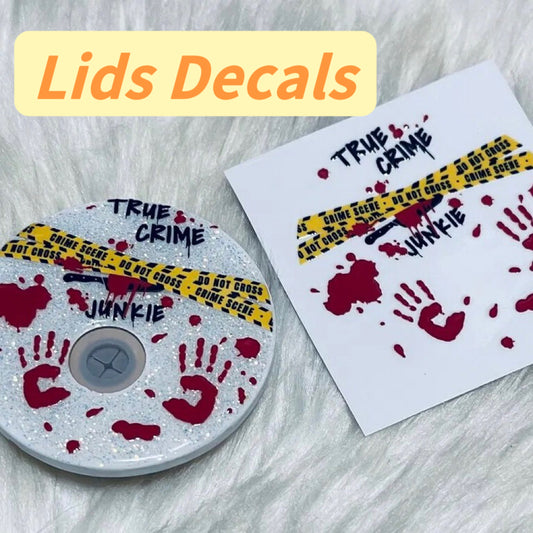
How to make a blood drip snow globe tumbler?
Use Red Glitter
Select red glitter for the "blood" effect.
Add Red Dye
Add red food coloring or liquid dye.
Create Drips
Use red paint or resin for drip effects on the exterior.
Apply UV DTF
Use a blood drip themed DTF wrap.
Add Decorations
Include blood-themed charms.
Create Your Sparkling Masterpiece: Dive into Snow Globe Tumbler DIY!
Snow globe tumblers are a fun and creative way to personalize your drinkware. With the right supplies and techniques, you can transform these blanks into stunning works of art.
Ready to start your snow globe tumbler journey? Explore our range of snow globe tumblers and unleash your creativity today!