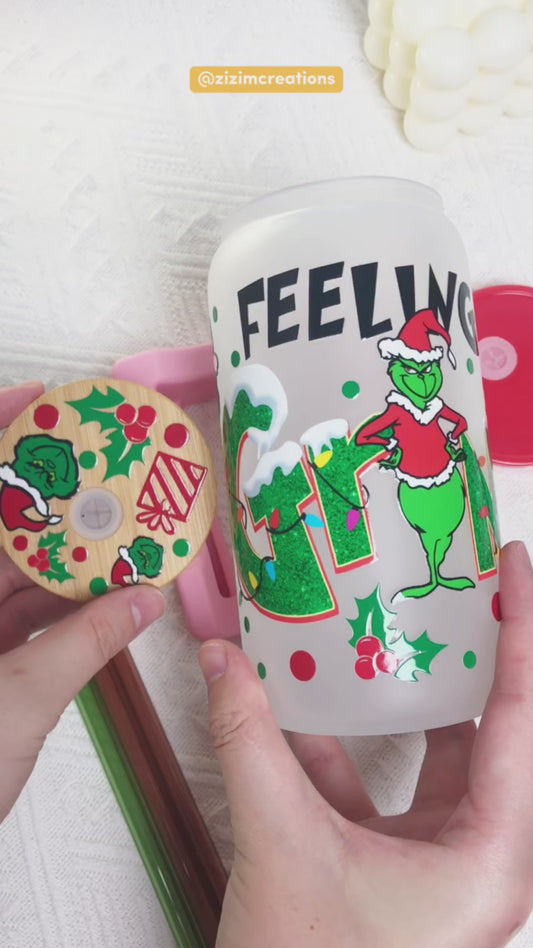
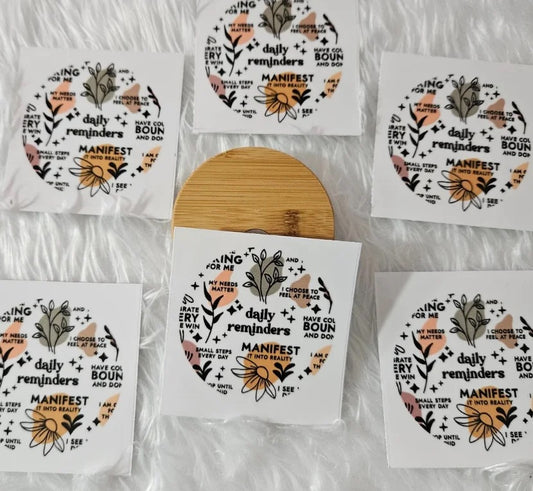
Do you want to add a personal touch to your wardrobe with unique and eye-catching designs? Heat pressing DTF (Direct-To-Film) transfers onto shirts is a simple and effective method that allows you to create custom designs with ease. In this blog post, we will guide you through the steps of mastering the art of heat pressing DTF transfers on shirts. Whether you're a beginner or have some experience, this guide will help you achieve professional-looking results and unleash your creativity!
Step 1: Gather Your Materials
Before diving into the heat pressing process, gather all the necessary materials. You will need a heat press machine, DTF transfer film, a t-shirt, heat-resistant tape, and a Teflon sheet. Make sure your heat press machine is clean and in good working condition.
Step 2: Prepare Your Design
Using a design software or an online platform, create or select your desired design. Ensure that the design is appropriately sized to fit on your shirt. Remember to mirror the image horizontally before printing. This step is crucial for achieving the correct orientation on the shirt.
Step 3: Print and Cut
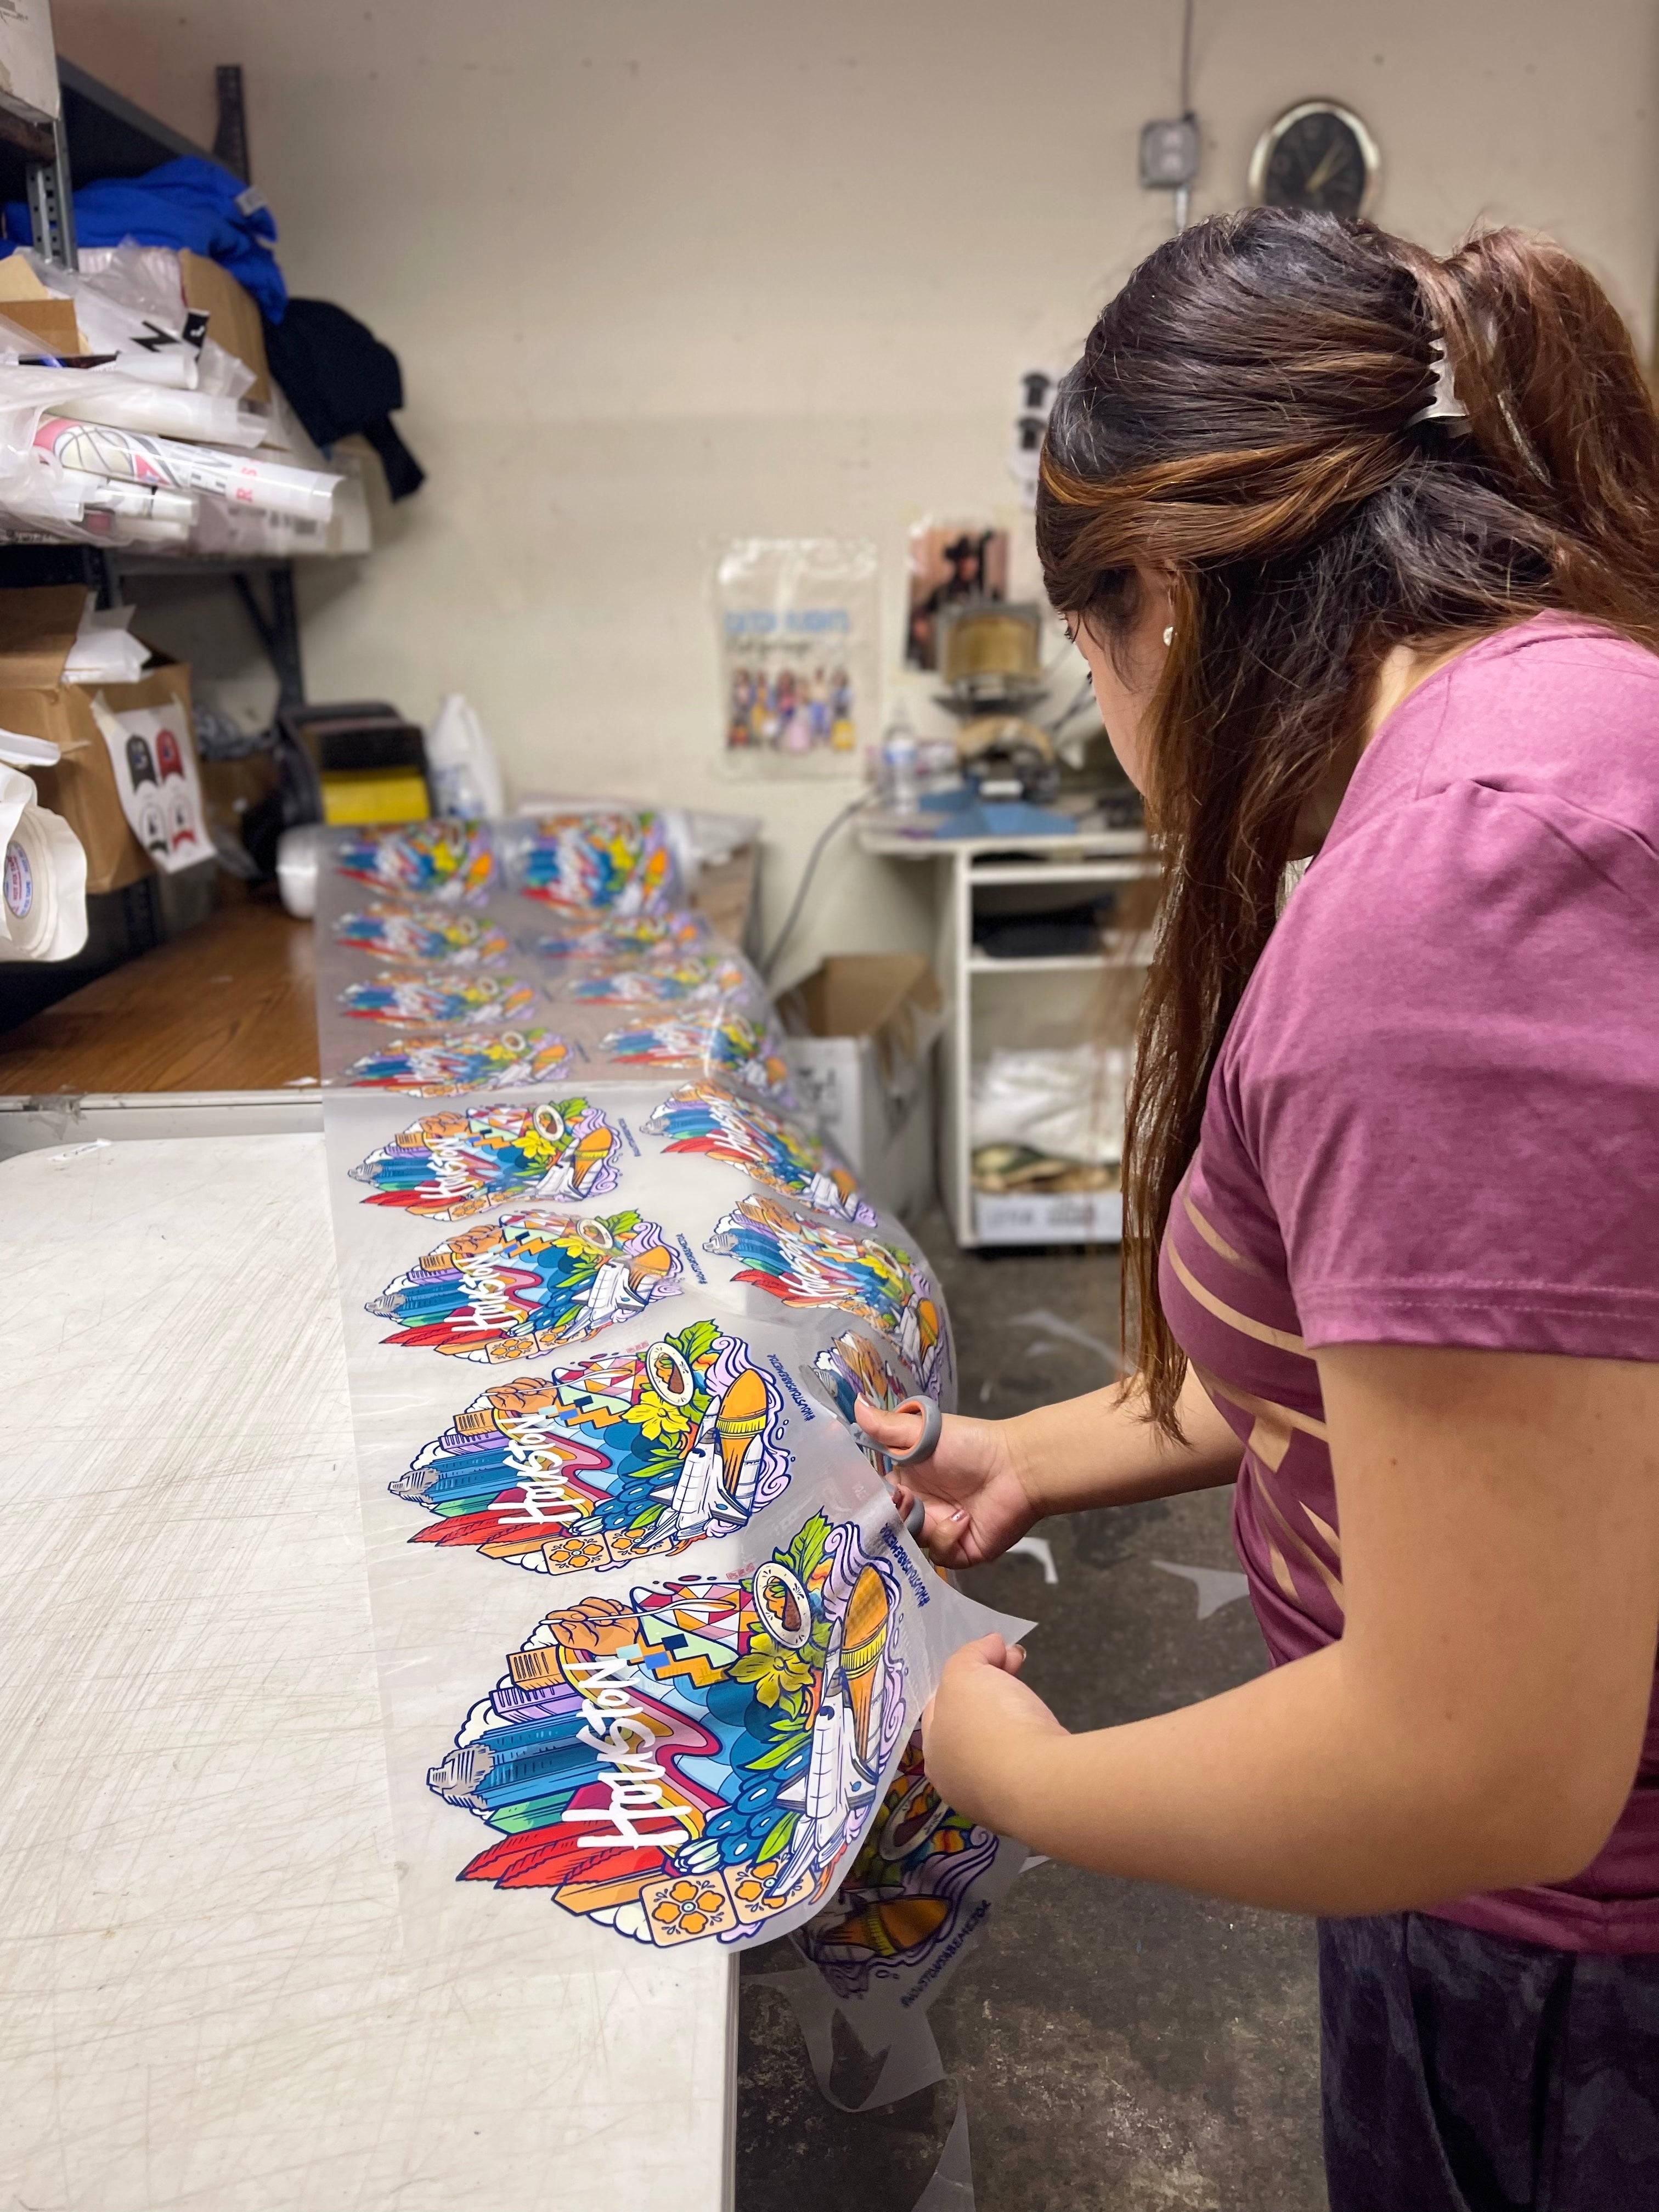
Load the DTF transfer film onto your printer and print the mirrored design. Once the printing is complete, allow the ink to dry thoroughly before proceeding. Then, use a cutting machine or a pair of scissors to cut out the design, leaving a small border of film around it.
Step 4: Preheat the Heat Press
Preheat your heat press machine to the recommended temperature for DTF transfers. Typically, the temperature should be set between 320-350°F (160-180°C). Make sure to refer to the manufacturer's guidelines for precise instructions.
Step 5: Position and Secure the Design
Lay your t-shirt on the heat press machine, ensuring it is smooth and wrinkle-free. Place your printed DTF transfer film on the desired location of the shirt, with the colored side facing up. Secure the film in place using heat-resistant tape, ensuring it doesn't shift or move during the pressing process.
Step 6: Time to Press
Carefully close the heat press machine, applying even pressure to the design. Follow the recommended pressing time, which is typically around 20-30 seconds. Avoid over-pressing, as it may affect the quality of the transfer.
Step 7: Peel and Reveal
Once the pressing time is up, carefully open the heat press and remove the heat-resistant tape. Allow the transfer to cool down for a few seconds. Then, slowly peel off the transparent carrier sheet, revealing your vibrant, personalized design on the shirt.

Conclusion
Heat pressing DTF transfers on shirts is an exciting and creative way to elevate your wardrobe. By following these simple steps, you can achieve professional-quality results and bring your design ideas to life. Remember to gather your materials, prepare your design, print and cut, and follow the proper heat pressing techniques. With a little practice and experimentation, you'll soon become a master of heat press DTF transfers, allowing you to express your unique style and create one-of-a-kind fashion statements! And if you need a great heat press machine, DTF transfers or some shirts blanks, for sure to check out our collection!


