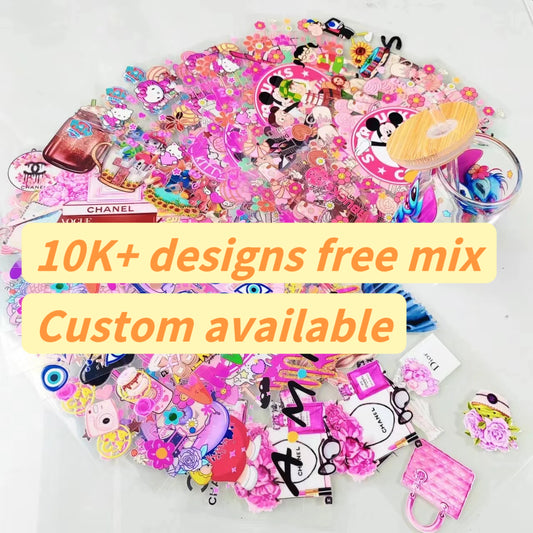
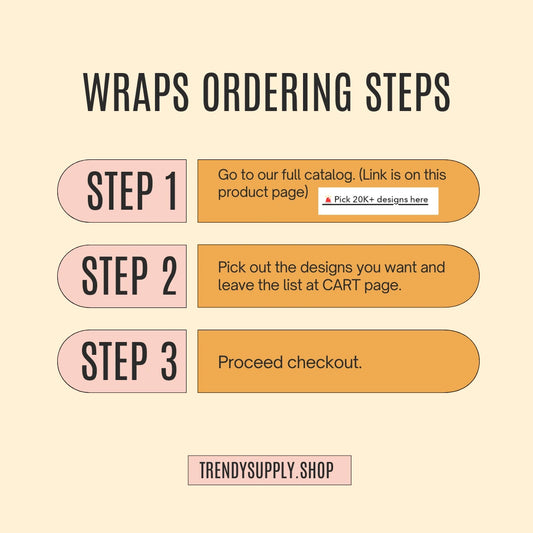
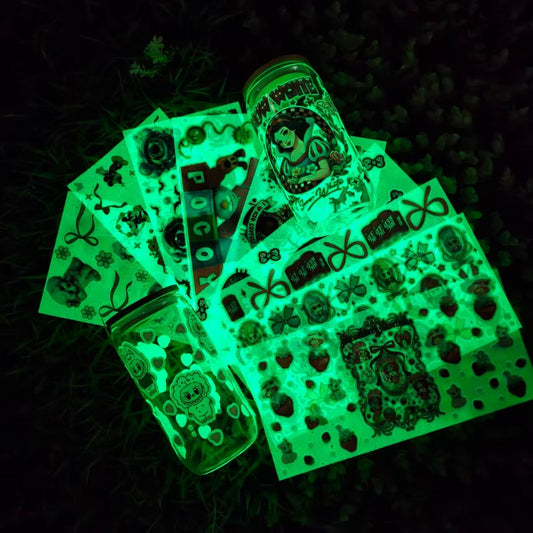
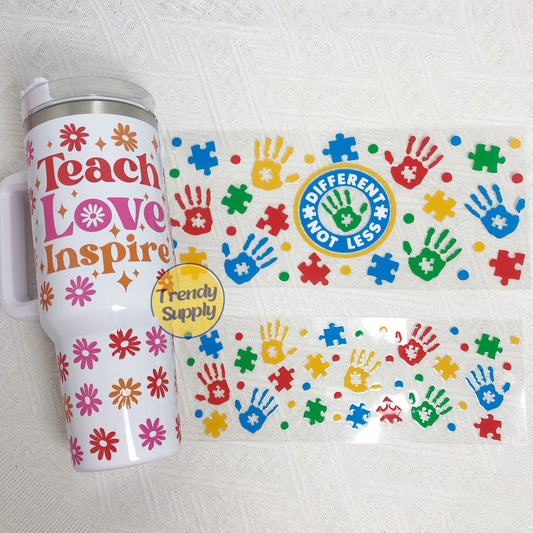
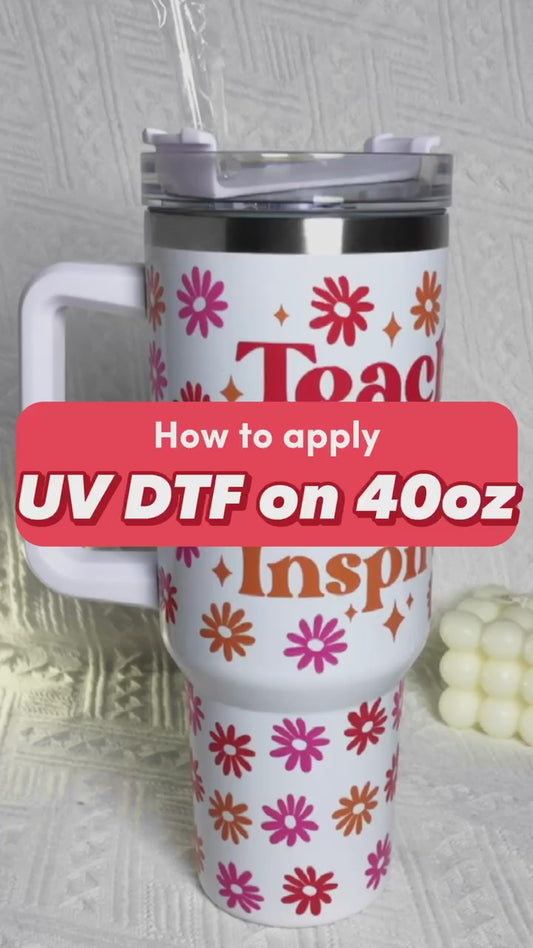
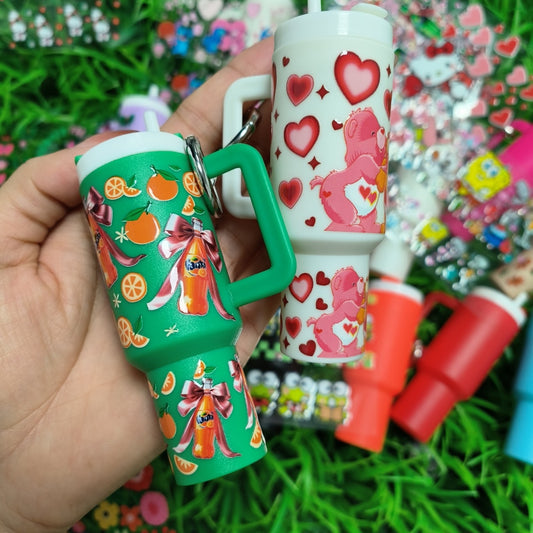
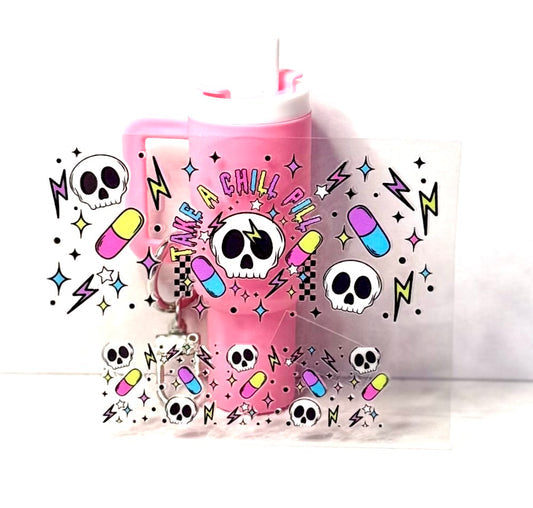
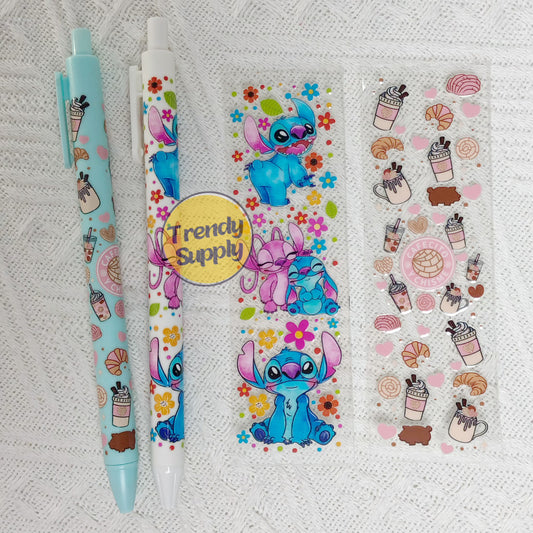
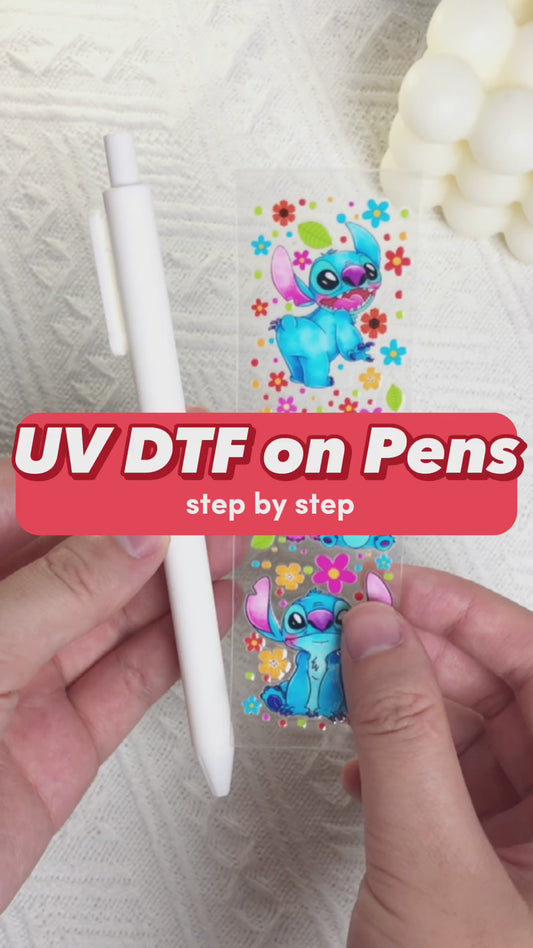
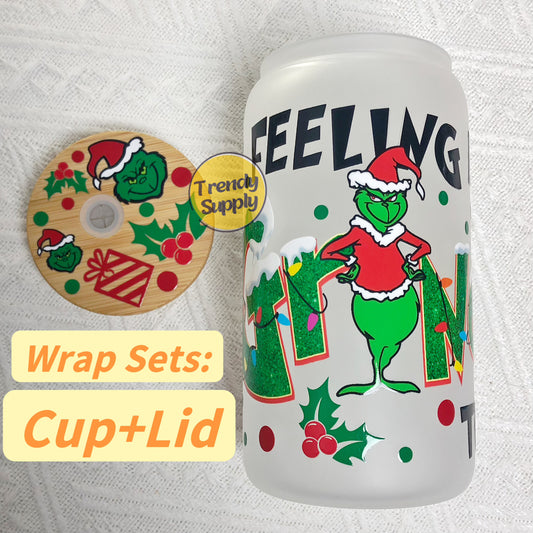
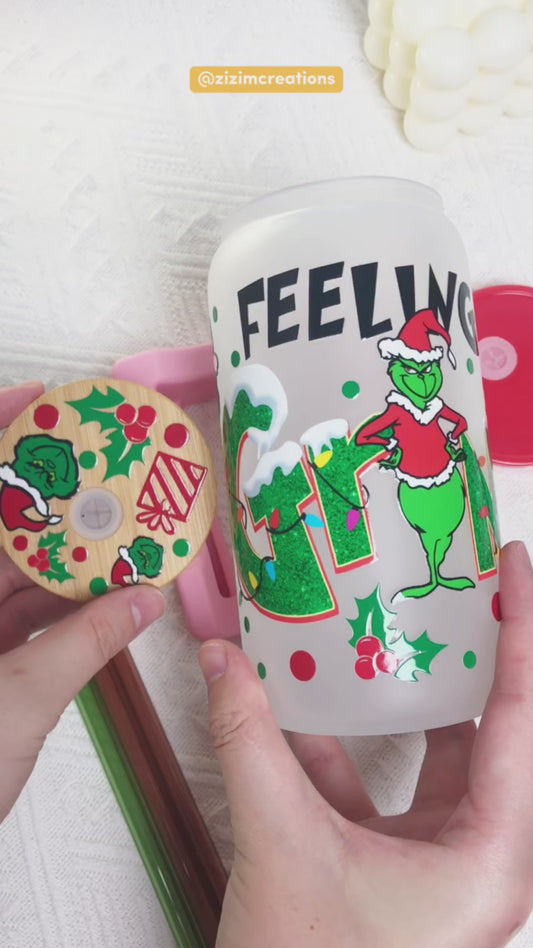
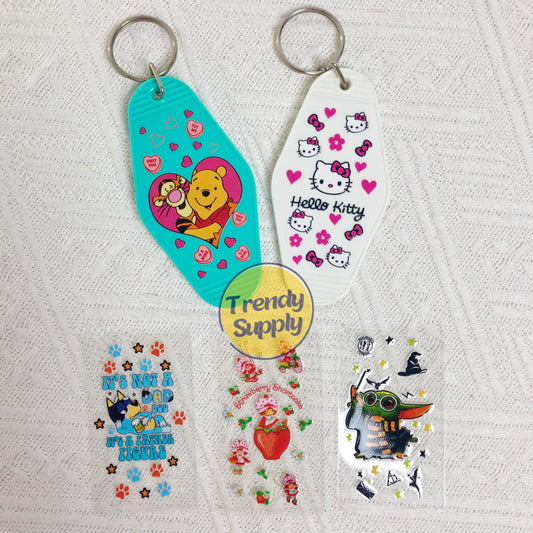
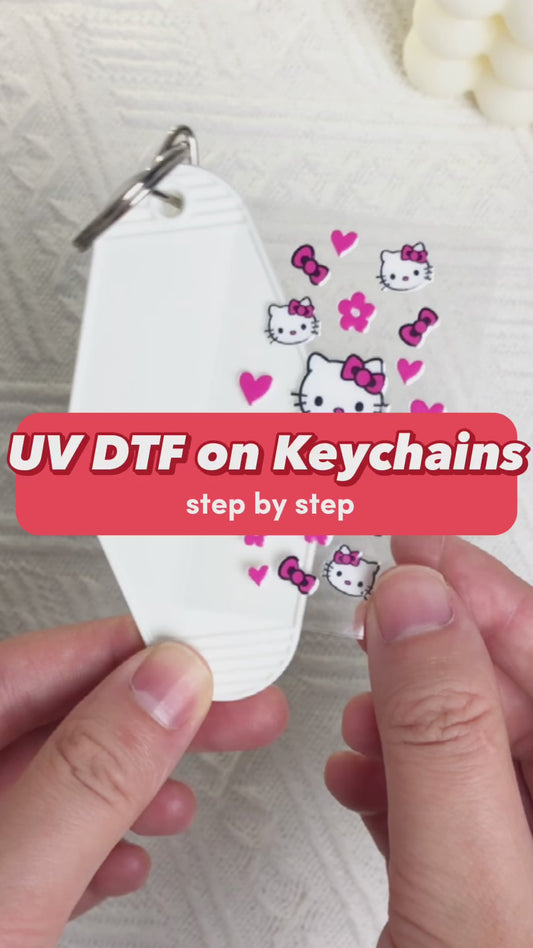
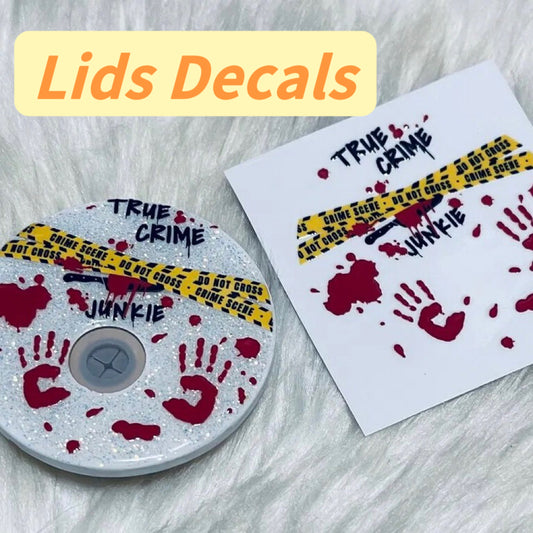
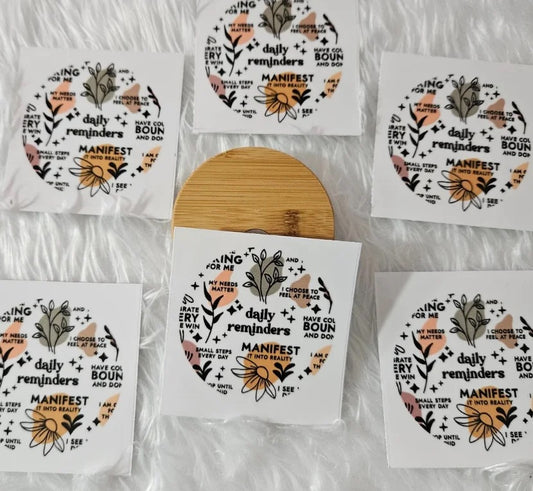
Custom tumblers have become one of the most popular personalization trends in recent years. In fact, the tumbler market is expected to reach $823.77 million by 2032, driven by the demand for personalized drinkware. Whether you’re a crafter looking to sell your creations or someone who simply loves unique, customized items, UV DTF wraps offer a great way to make your tumblers stand out. In this guide, we’ll walk you through the process of applying and customizing 40 oz cup wraps, helping you create high-quality, professional-looking designs with ease.
What are UV DTF Wraps?
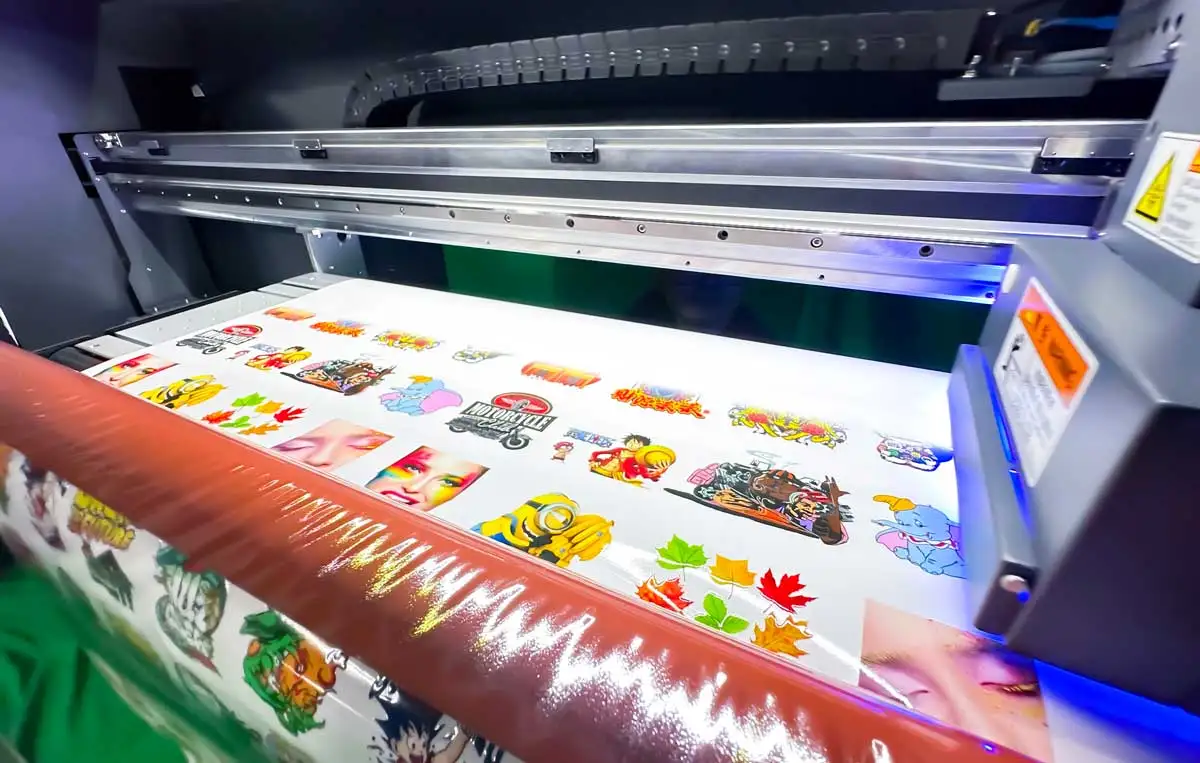
UV DTF (Direct to Film) wraps are a popular choice for customizing tumblers, cups, and other items. These wraps are printed with vibrant, high-quality designs that are transferred onto your products using heat and pressure. Unlike traditional vinyl wraps, UV DTF wraps allow for detailed graphics with sharp colors and a durable finish. When applied correctly, UV DTF wraps offer long-lasting, high-quality customization for a wide range of items, including 40 oz cups.
Tools You Need to Apply 40 oz Cup Wrap
Before you start applying your 40 oz cup wrap, you’ll need a few essential tools to ensure a smooth process. Here’s a breakdown of the main items you’ll need:
40 oz Cup Wraps
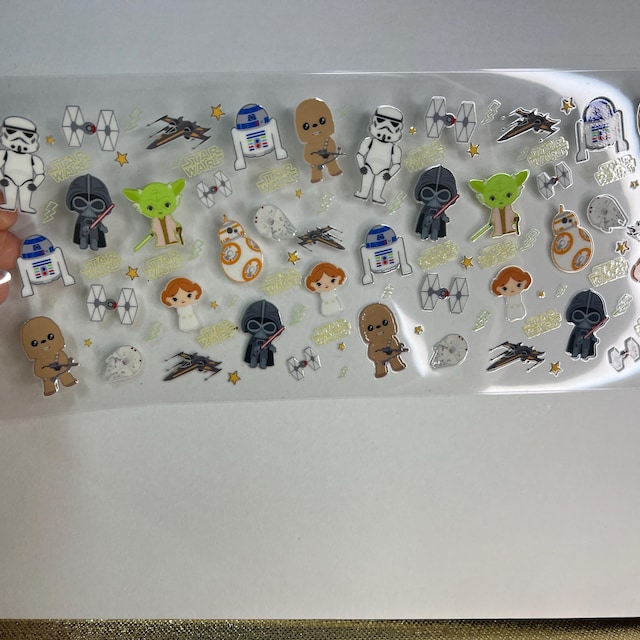
The 40 oz cup wrap is designed specifically for large tumblers, providing full coverage with high-quality prints. These wraps are made to fit snugly around the tumbler, ensuring a seamless, professional look.
Ready to customize your tumblers? Browse our high-quality 40 oz UV DTF cup wrap here and bring your designs to life today!
40 oz Tumbler Blanks
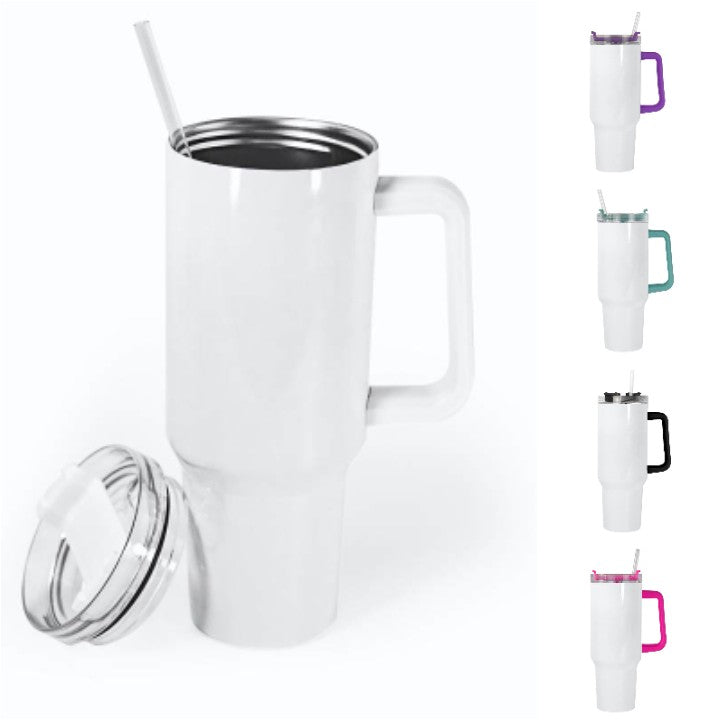
To apply your UV DTF wrap, you’ll need a blank 40 oz tumbler. These tumblers come in a variety of materials, including stainless steel and plastic, and are ready to be customized with your UV DTF wrap.
Need blank tumblers to get started? Check out our premium 40 oz tumbler blanks and stock up on everything you need to create your perfect custom cup.
Squeegee or Burnishing Tool
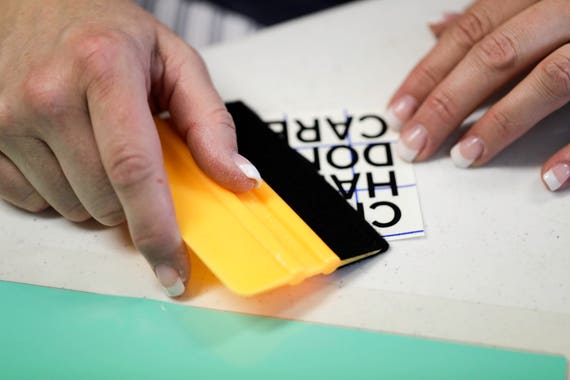
A squeegee or burnishing tool is essential for ensuring the wrap adheres smoothly to the surface without air bubbles or wrinkles. These tools help you apply even pressure across the wrap, ensuring a flawless finish.
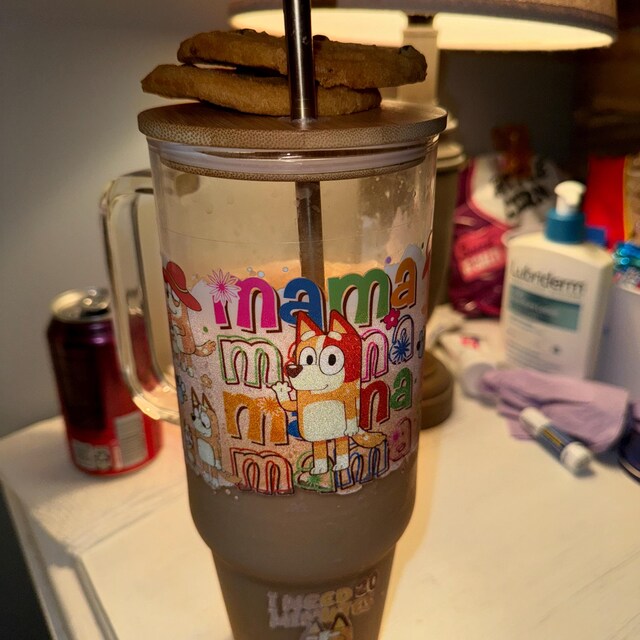
How to Apply 40 oz Cup Wrap? Step by Step
Applying a 40 oz cup wrap might seem daunting at first, but with the right tools and techniques, it’s easier than you think. Follow this simple step-by-step guide to achieve professional results.
Step One: Prepare Your Tumbler
Start by cleaning your 40 oz tumbler. Make sure it’s free from dirt, oils, or fingerprints by wiping it down with rubbing alcohol. This will ensure that the wrap adheres properly and doesn’t peel off later.
Step Two: Position the Wrap
Carefully unroll your UV DTF wrap and position it on your tumbler. Make sure the design is aligned properly before you start pressing it down. It’s helpful to have a few extra hands or a jig to hold the tumbler steady while positioning the wrap.
Step Three: Apply the Wrap
Using your squeegee or burnishing tool, apply pressure to the wrap, starting from the center and working your way out to the edges. This will help smooth out any air bubbles and ensure the wrap sticks evenly across the tumbler. Take your time to ensure a smooth application.
Tips for Successfully Applying 40 oz Cup Wrap
To ensure the best results when applying your 40 oz cup wrap, follow these tips:
Work Slowly
When applying your 40 oz cup wrap, it’s essential to take your time. Rushing through the process can lead to mistakes, such as misalignment or wrinkles in the wrap. Focus on ensuring the wrap is positioned correctly before pressing it down, and work gradually to ensure smooth, even coverage. Taking your time will help you achieve a professional, flawless result.
Use a Guide for Precise Placement
To ensure your 40 oz cup wrap is aligned perfectly, it’s helpful to use a guide or template for precise placement. Many crafters use a printable template or jig to help position the wrap accurately on the tumbler. This guide will ensure that your design is centered and straight, which is especially important for larger tumblers like the 40 oz size.
Avoid Wrinkles
One of the biggest challenges when applying 40 oz cup wraps is avoiding wrinkles and air bubbles. To ensure a smooth application, start pressing the wrap down from the center and work your way outward. Use a squeegee or burnishing tool to apply even pressure, ensuring the wrap adheres to the tumbler’s surface without any bubbles or creases. The smoother the application, the better the final result will look.
Is 40 oz Cup Wrap Waterproof?
Yes, 40 oz cup wraps are typically waterproof once they’ve been properly applied. The UV DTF printing process makes the design resistant to water, ensuring that your custom cup remains vibrant and intact, even after repeated use. However, the longevity of the wrap also depends on how well it’s applied and how well you care for it.
Is 40 oz Cup Wrap Dishwashers Safe?
While UV DTF wraps are durable, it’s best to handwash your 40 oz cups to maintain the integrity of the wrap. The high heat and strong detergents used in dishwashers can cause the wrap to peel or fade over time. To preserve your custom design, wash your tumbler by hand with mild soap and water.
How Much Does 40 oz Cup Wrap Cost?
The cost of 40 oz cup wraps can vary depending on the supplier and the complexity of the design. On average, you can expect to pay anywhere from $2 to $10 per wrap. If you're ordering in bulk or opting for custom designs, the price may be higher, but the investment is worth it. High-quality wraps ensure your tumblers stand out and have a long-lasting, professional finish.
Want quality and low price at the same time? Shop our premium 40 oz cup wraps today and get started on creating stunning, one-of-a-kind designs.
How to Make Customized 40 oz Cup Wrap?
Creating your own customized 40 oz cup wraps is easier than you might think! Here’s how you can get started:
Step One: Design Your Wrap
Start by creating your design using graphic design software like Adobe Illustrator or Canva. Make sure your design fits the 40 oz tumbler template, with no important elements near the edges.
Step-by-Step Guide to Design Your 40 oz Cup Wrap in Canva:
1.Open Canva and Create a Custom Design
Go to Canva and sign in or create a free account.
Click on “Create a Design” and choose “Custom Size.”
Set the dimensions to fit a 40 oz tumbler wrap. The standard size for a full tumbler wrap is typically around 9.5 inches wide by 8 inches tall, but be sure to check your tumbler’s dimensions for accuracy.
2.Choose a Template or Start from Scratch
Canva offers a variety of templates you can customize, or you can start with a blank canvas. If you’re new to design, starting with a template can save time, as it gives you a structure to build on.
3.Add Your Design Elements
Upload any images or logos you want to include on the wrap. Use Canva's built-in elements, text, and icons to create your custom design. You can also adjust colors, fonts, and effects to match your brand or style.
Ensure that no important elements (such as text or logos) are placed too close to the edges of the design, as this can get cut off during the application process.
4.Check the Alignment
Double-check that the design aligns properly within the custom size. You may want to use Canva's grid or ruler tools to center your design, ensuring that it's evenly spaced on the canvas.
5.Download Your Design
Once you're happy with your design, click the “Download” button at the top right corner of the screen. Choose the file format you prefer, such as PNG or PDF. Make sure to download it with a transparent background if you’re planning to print it onto a clear UV DTF transfer film.
6.Ready for Printing!
After downloading your design, you’re ready to print it onto the UV DTF transfer film and proceed with the application process.
Step Two: Print Your Design
Once you’ve finalized your design, print it onto UV DTF transfer film. Ensure your printer settings are correct for UV DTF printing to achieve the best results. You can either print it yourself if you have the right equipment or order from a supplier.
Need a supplier to print your custom 40 oz cup wrap, we can do that for you. Check the 40 oz cup wrap product page here to learn more about pricing and shipping now!
Step Three: Apply the Wrap to Your Tumbler
After printing, follow the application process outlined earlier to carefully apply the wrap to your 40 oz tumbler. Use a squeegee or burnishing tool to ensure a smooth and wrinkle-free application.
Conclusion: Getting Your Perfect 40 oz Cup Wraps Today
With the right tools, design process, and application steps, you can easily create stunning custom 40 oz tumblers that will stand out. Whether you’re designing for yourself or creating products to sell, UV DTF wraps provide a durable and vibrant solution for personalization. Now that you have the knowledge, it’s time to start designing and customizing your own wraps!
Ready to get the 40 oz cup wrap and create your custom tumbler designs? Browse our selection of premium 40 oz cup wrap and 40oz blank tumblers to get started today!


