Skip to content

Snow globe tumbler supplies are the key to unlocking a world of dazzling, swirling creations. The DIY crafts market is exploding, with a projected value of over USD 1.94 trillion by 2033, according to a report. This surge in popularity highlights the growing desire for personalized and unique items, and snow globe tumblers are a perfect example. These mesmerizing creations have taken social media by storm, captivating crafters and consumers alike. If you're ready to dive into this trend, having the right snow globe tumbler supplies is essential. This guide will walk you through everything you need to know to create your own swirling masterpieces.

What are Snow Globe Tumbler Supplies?
Snow globe tumbler supplies encompass a comprehensive range of materials essential for crafting liquid-filled tumblers with captivating floating elements. The core components typically include:
Double-Walled Tumblers: The Foundation
-
These tumblers feature an inner and outer wall, creating a cavity for the liquid and glitter.
-
The double-wall construction provides insulation and prevents condensation.
-
They come in various sizes and shapes to suit different preferences.
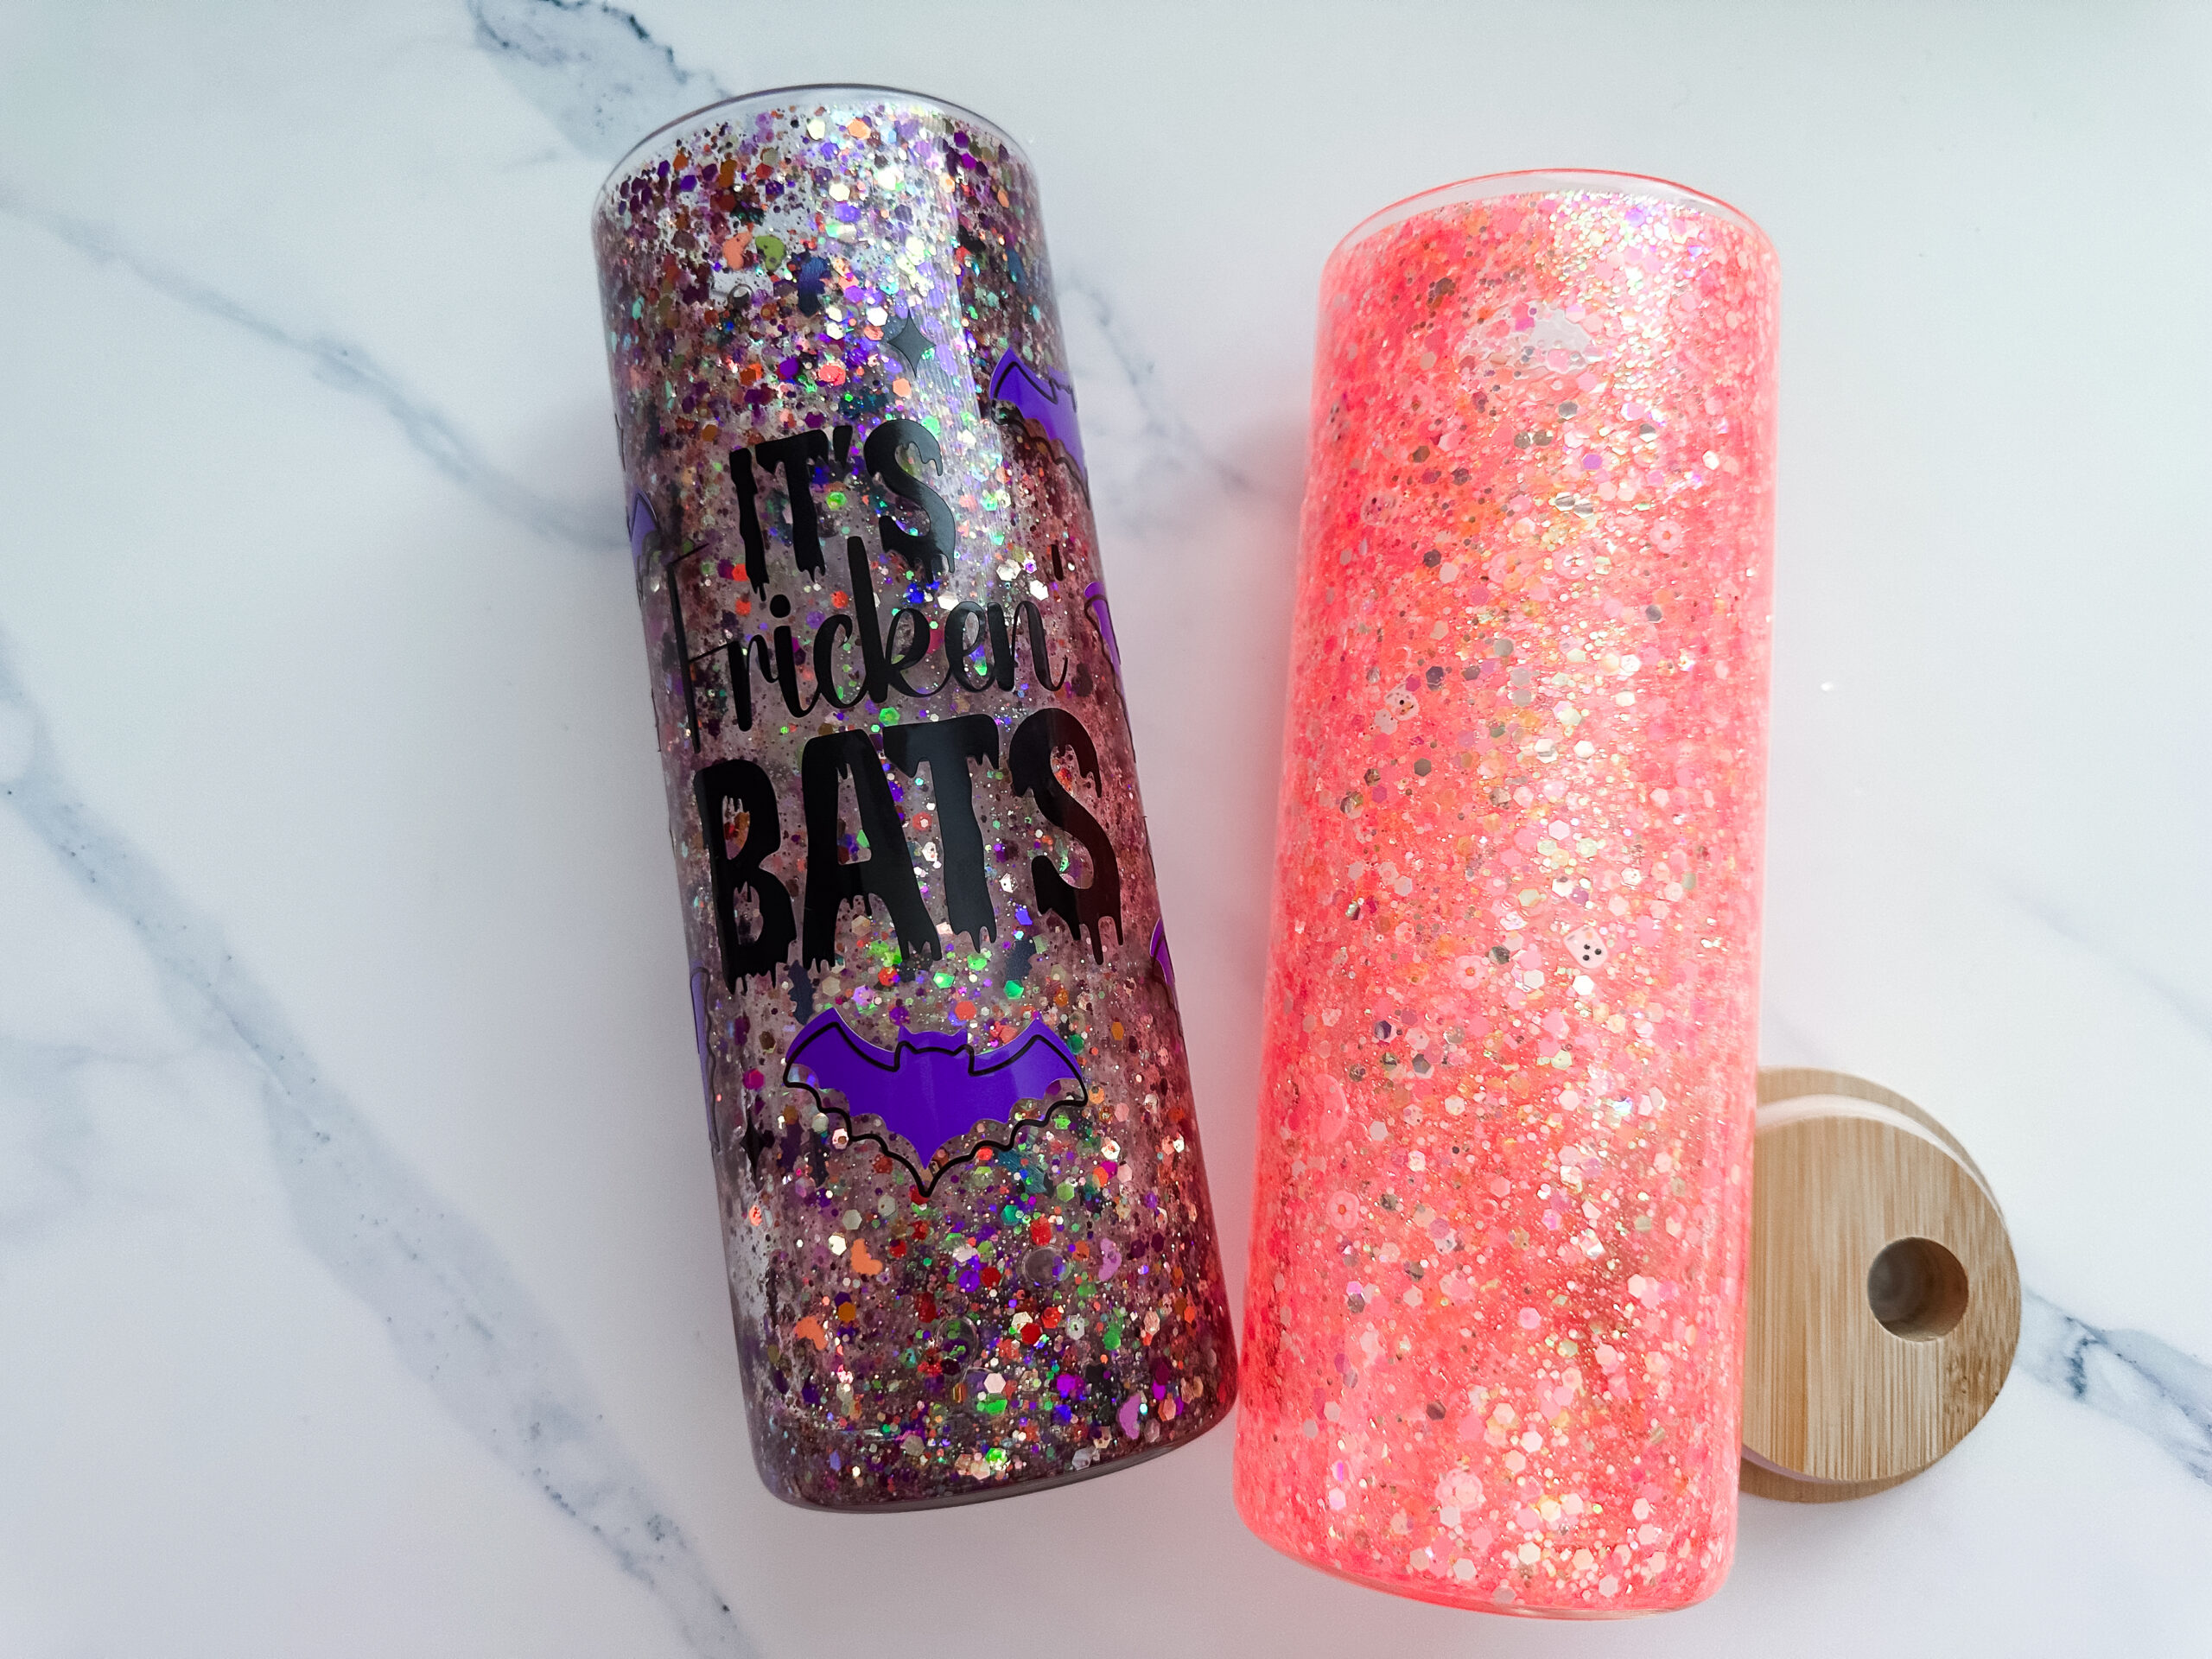
Glitter: The Sparkling "Snow"
-
A variety of glitter sizes, colors, and textures are used to create the "snow" effect.
-
Fine glitter creates a subtle shimmer, while chunky glitter adds more visual impact.
-
Iridescent and holographic glitters add a unique and eye-catching sparkle.
Liquid Thickener: Slowing the Descent
-
Glycerin or clear glue is used to thicken the liquid and slow down the glitter's descent.
-
Glycerin is a non-toxic, clear liquid that creates a smooth, slow-motion effect.
-
Clear glue provides a similar thickening effect and can be used as an alternative.

Sealing Materials: Preventing Leaks
-
Epoxy resin or other suitable sealants are used to seal the fill hole and prevent leaks.
-
Epoxy resin creates a strong, durable seal that can withstand temperature changes.
-
Other sealants, such as UV resin or food-grade silicone, can also be used.
Decorative Elements: Adding Character
-
Small charms, beads, sequins, or other decorative items can be added to the liquid for extra visual interest.
-
These elements can be chosen to match the theme or design of the tumbler.
-
They add depth and dimension to the "snow globe" effect.
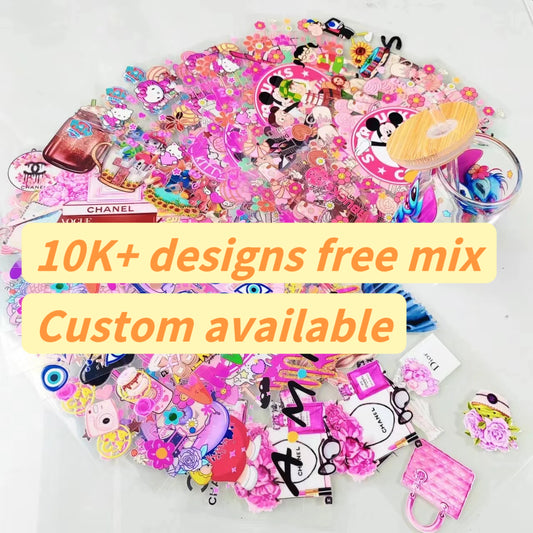
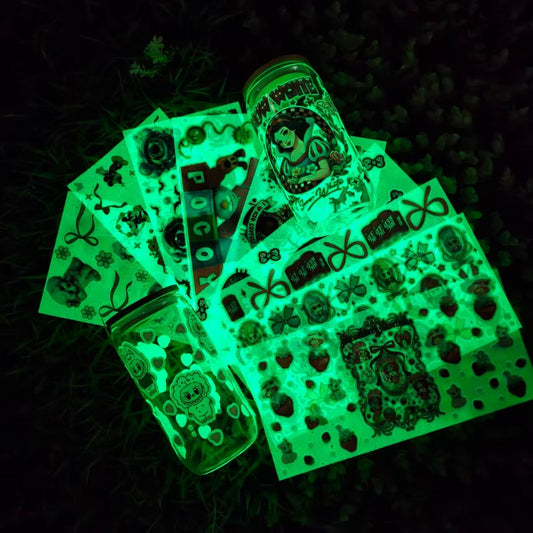
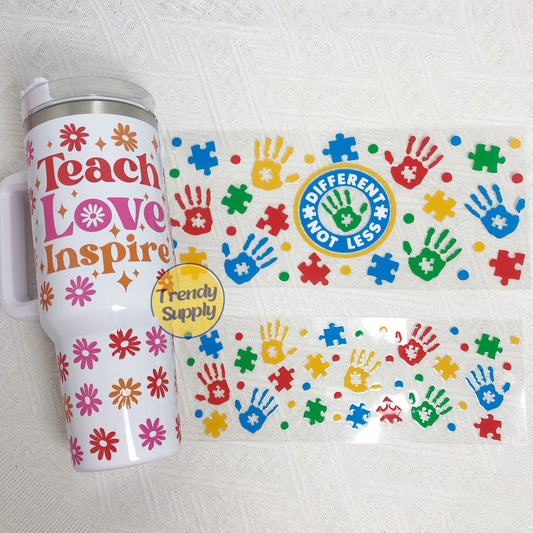
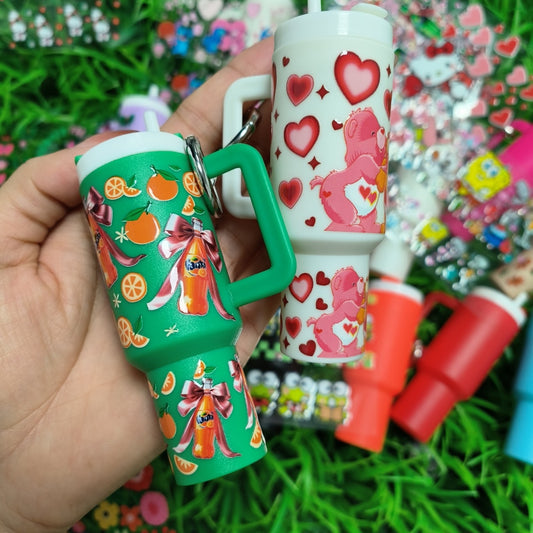
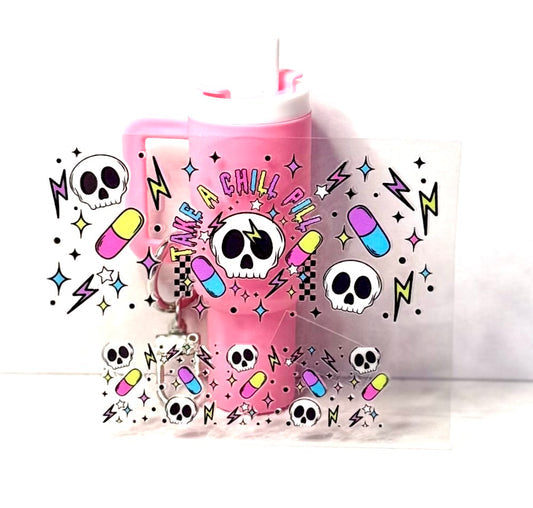
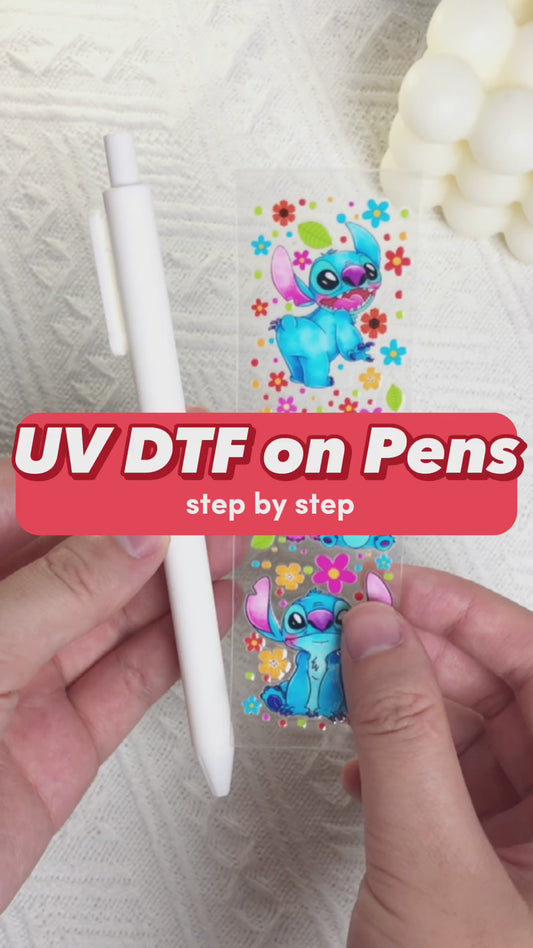
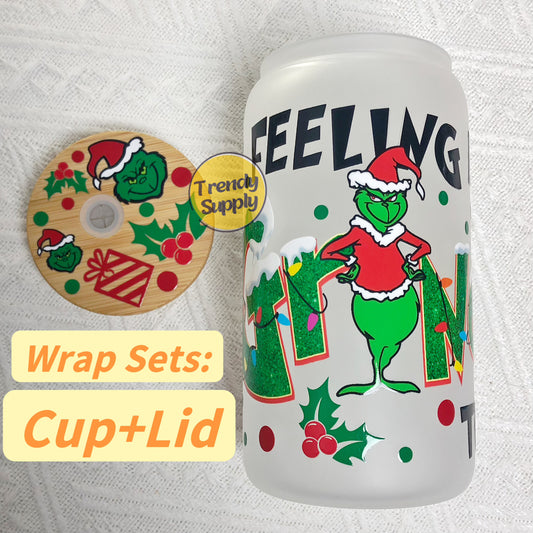
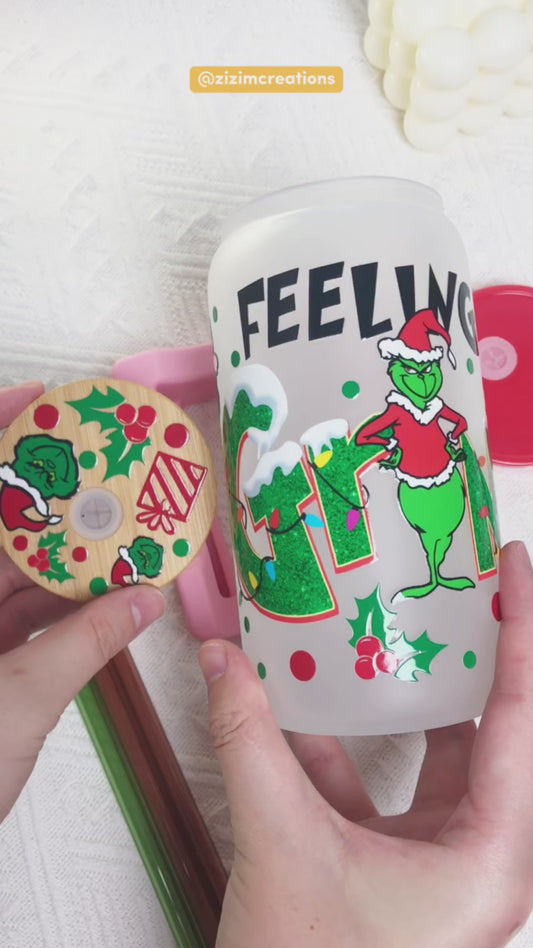
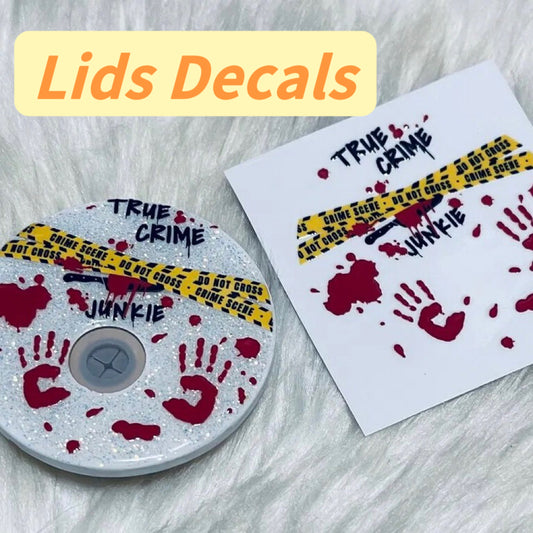
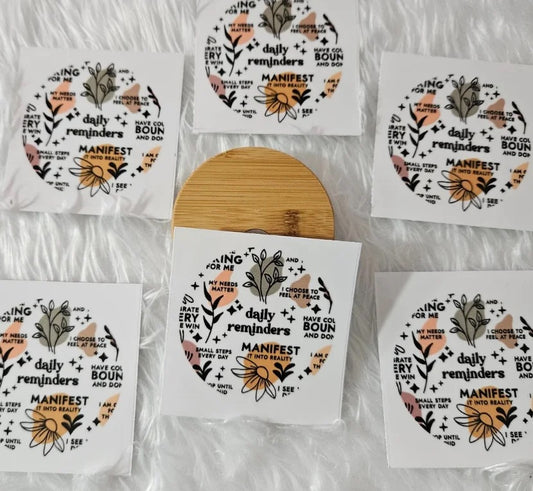
UV DTF Wraps: Customizing the Exterior
-
UV DTF wraps are used to add custom designs to the outer wall of the tumbler.
-
These wraps offer vibrant colors, intricate details, and a durable finish.
-
They allow for endless customization possibilities.

Drilling/Filling Tools: Creating and Injecting
-
A drill or rotary tool is used to create a small fill hole in the bottom of the outer wall.
-
A syringe or pipette is used to carefully inject the liquid mixture into the fill hole.
-
These tools ensure a clean and precise filling process.
Why is Snow Globe Tumbler so popular?
Visual Appeal
The swirling glitter and decorative elements create a captivating and mesmerizing effect.
Customization
They can be personalized with various glitters, colors, and designs.
Trending
They are a popular trend on social media platforms like TikTok and Instagram.
Gift-ability
They make unique and thoughtful gifts for any occasion.
Creative Outlet
They offer a fun and engaging DIY project.
How can crafters benefit from Snow Globe Tumbler Supplies?
Expand Product Offerings: Diversify Your Craft Business
-
Add a Unique Item: Introduce snow globe tumblers to your product line, attracting customers seeking trendy and personalized items.
-
Offer Custom Designs: Provide customers with the option to personalize their tumblers with names, monograms, or themed designs.
-
Create Themed Collections: Develop themed collections for holidays, seasons, or special occasions, increasing sales potential.
Creative Expression: Unleash Your Artistic Vision
-
Experiment with Glitter: Explore various glitter types, sizes, and colors to create unique visual effects.
-
Incorporate Decorative Elements: Add charms, beads, sequins, and other decorative items to enhance the "snow globe" effect.
-
Design Custom Exteriors: Use UV DTF wraps or other techniques to create custom designs on the outer wall of the tumbler.
Increase Sales: Capitalize on Popular Trends
-
Tap into Social Media Trends: Leverage the popularity of snow globe tumblers on platforms like TikTok and Instagram to attract new customers.
-
Offer Seasonal Promotions: Create limited-time offers and promotions for holidays and special occasions to boost sales.
-
Partner with Local Businesses: Collaborate with local businesses to offer customized snow globe tumblers for promotional events or corporate gifts.
Personalized Gifts: Craft Thoughtful Presents
-
Create Custom Gifts: Design personalized snow globe tumblers for birthdays, holidays, or other special occasions.
-
Offer Gift Sets: Create gift sets that include a snow globe tumbler and other complementary items, such as straws or cleaning brushes.
-
Personalize for Events: Design customized tumblers for bridal showers, baby showers, or other events, creating memorable keepsakes.
Social Media Engagement: Build Your Online Presence
-
Share Your Creations: Showcase your snow globe tumbler creations on social media platforms to attract new followers and customers.
-
Run Contests and Giveaways: Engage your audience with contests and giveaways, increasing your reach and brand awareness.
-
Collaborate with Influencers: Partner with social media influencers to promote your snow globe tumblers and reach a wider audience.
How to make a snow globe tumbler
1. Prepare the Tumbler:
-
Clean and dry the double-walled tumbler thoroughly.
-
Ensure there are no dust particles or residue inside the tumbler.
-
This clean base will help ensure a clear and visually appealing final product.
2. Create a Fill Hole:
-
Carefully drill a small, discreet hole in the bottom of the outer wall.
-
Use a drill bit appropriate for the tumbler material to prevent cracking.
-
The hole should be just large enough to accommodate a syringe or pipette for filling.
3. Mix the Liquid:
-
In a separate, clean container, combine water with glycerin or clear glue.
-
The ratio of glycerin or glue to water will affect the speed at which the glitter falls.
-
Experiment with different ratios to achieve your desired effect.
4. Add Glitter and Decorations:
-
Add your chosen glitter and any decorative elements to the liquid mixture.
-
Consider the size, color, and texture of the glitter to create the desired visual effect.
-
Small charms, beads, or sequins can add extra visual interest and depth.
5. Fill the Tumbler:
-
Carefully inject the liquid mixture into the fill hole using a syringe or pipette.
-
Avoid creating air bubbles during the filling process.
-
Fill the tumbler almost to the top, leaving a small air gap to allow for expansion.
6. Seal the Hole:
-
Seal the fill hole securely with epoxy resin or another suitable sealant.
-
Apply the sealant according to the manufacturer's instructions.
-
Allow the sealant to cure completely before handling the tumbler.
7. Decorate the Outside:
-
Apply UV DTF wraps or other decorative elements to the outer wall of the tumbler.
-
This is where you can add your personal touch and customize the tumbler's appearance.
-
Ensure the decorations are securely attached and complement the overall design.
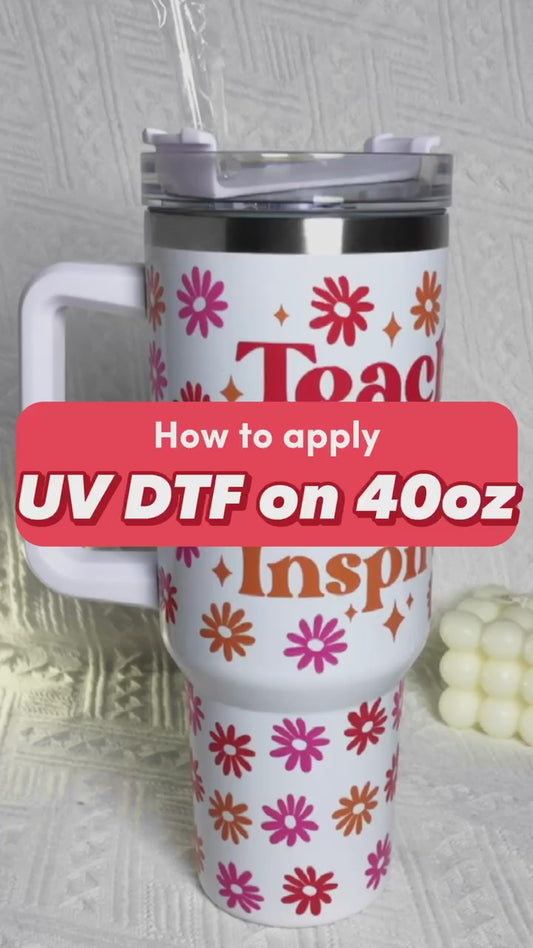
How to apply UV DTF Wraps to snow globe tumbler?
1. Preparing the Tumbler Surface
-
Clean the Tumbler: Ensure the outer surface is meticulously clean and completely dry. Use a lint-free cloth and isopropyl alcohol to remove any oils, dust, or residue that could interfere with the wrap's adhesion.
2. Applying the UV DTF Wrap
-
Peel the Backing: Carefully peel the backing off the UV DTF wrap, exposing the adhesive side. Handle the wrap by the edges to avoid touching the adhesive with your fingers.
-
Position the Wrap: Align the wrap on the tumbler with precision. Start by aligning one edge and gently press it down, ensuring it's straight and centered.
-
Smooth the Wrap: Use a squeegee or your fingers to smooth out any air bubbles or wrinkles. Start from the center and work outwards, applying even pressure to ensure a smooth, seamless application.
3. Finalizing the Application
-
Remove the Transfer Film: Carefully peel off the clear transfer film, leaving the design adhered to the tumbler. Do this slowly and at a sharp angle to prevent lifting the design. If any part of the design lifts, gently press it back down and re-smooth it.
Can you use fine glitter in snow globe tumbler?
Yes, fine glitter can be used in snow globe tumblers. It creates a subtle, shimmering effect. However, using a mix of fine and chunky glitter can add more visual interest.
How much glitter for a snow globe tumbler?
The amount of glitter depends on the desired effect. A general guideline is to use 1-2 tablespoons of glitter per tumbler. Adjust the amount based on your preference.
How much glycerin for snow globe tumbler?
A common ratio is 1:1 glycerin to water. This creates a thick liquid that slows down the glitter's descent. You can adjust the ratio to achieve the desired consistency. Clear glue can also be used in place of glycerin.
How to fill a snow globe tumbler?
-
Prepare the Liquid: Mix water with glycerin or clear glue and add glitter.
-
Use a Syringe: Fill a syringe with the liquid mixture.
-
Inject the Liquid: Carefully inject the liquid into the fill hole, avoiding air bubbles.
-
Fill to the Top: Fill the tumbler almost to the top, leaving a small air gap.
How to get air bubbles out of snow globe tumbler?
-
Use a Syringe: Inject the liquid slowly and carefully to minimize air bubbles.
-
Tap the Tumbler: Gently tap the tumbler to release any trapped air bubbles.
-
Allow to Settle: Let the tumbler sit for a few hours to allow air bubbles to rise to the surface.
-
Add More Liquid: If necessary, add more liquid to fill any remaining air gaps.
How to make a blood drip snow globe tumbler?
-
Use Red Glitter: Select red glitter for a "blood" effect.
-
Add Red Dye: Add a few drops of red food coloring or liquid dye to the liquid mixture.
-
Create Drips: Use a red paint or resin to create "blood drip" effects on the outer wall of the tumbler.
-
Apply UV DTF: use a DTF wrap with a blood drip design.
-
Add Decorative Elements: Include small "blood" themed charms or decorations.
Craft Your Sparkling Masterpiece: Dive into Snow Globe Tumbler Creations!
Snow globe tumblers are a fun and creative way to personalize your drinkware. With the right supplies and techniques, you can create stunning, swirling masterpieces that will impress everyone.
Ready to start crafting your own snow globe tumblers? Explore our selection of snow globe tumbler supplies and unleash your creativity today!