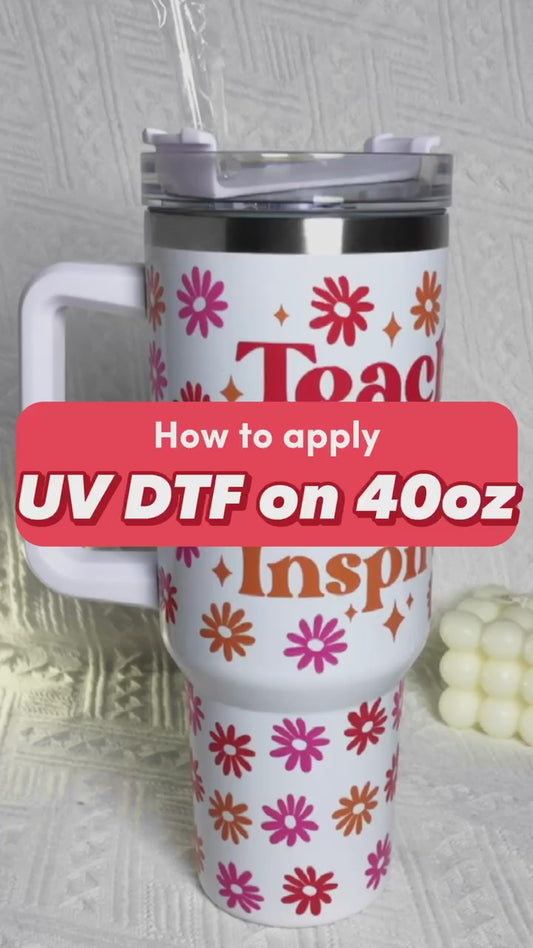
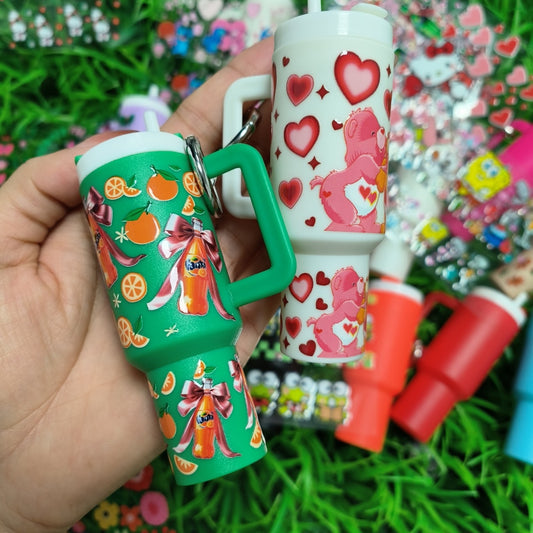
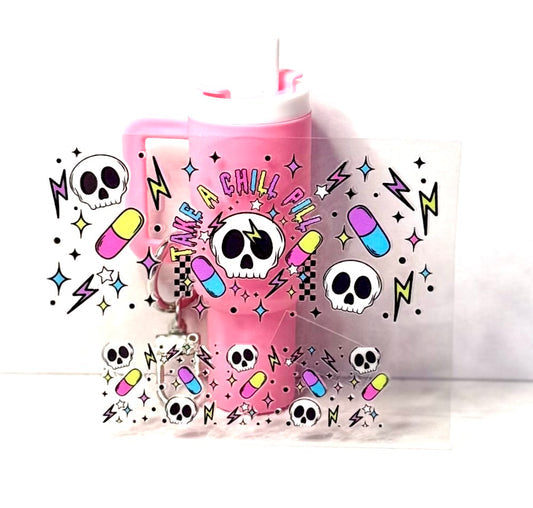
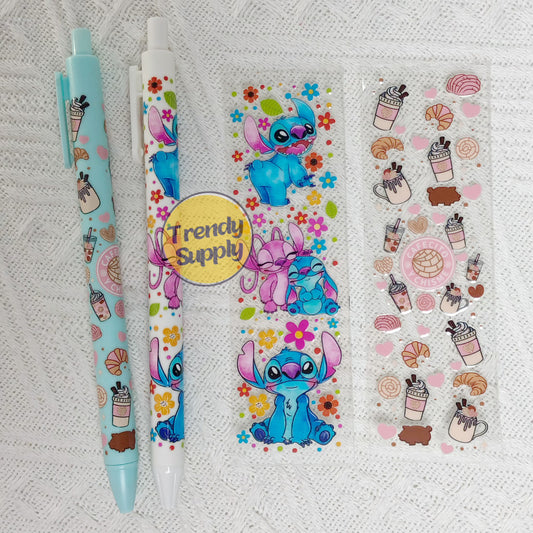
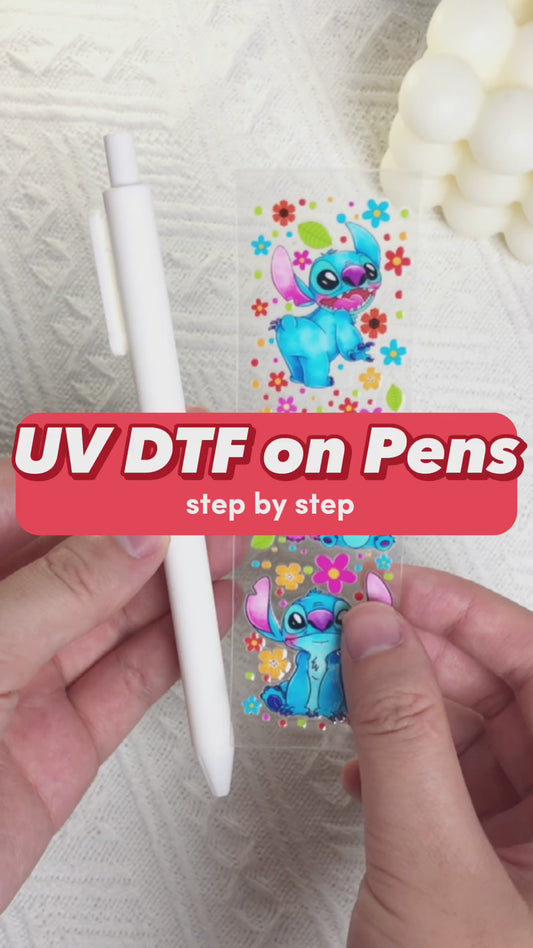
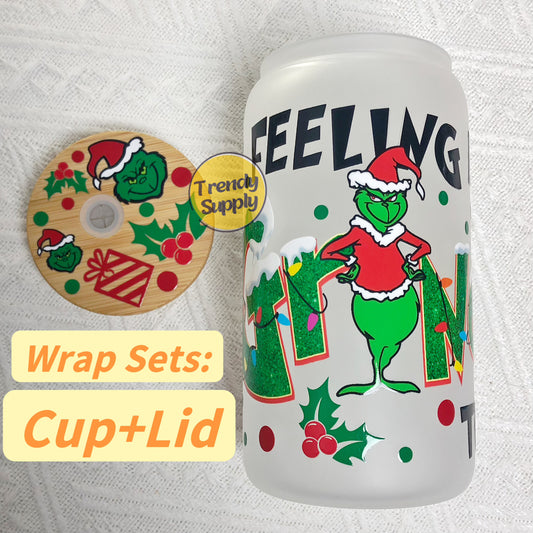
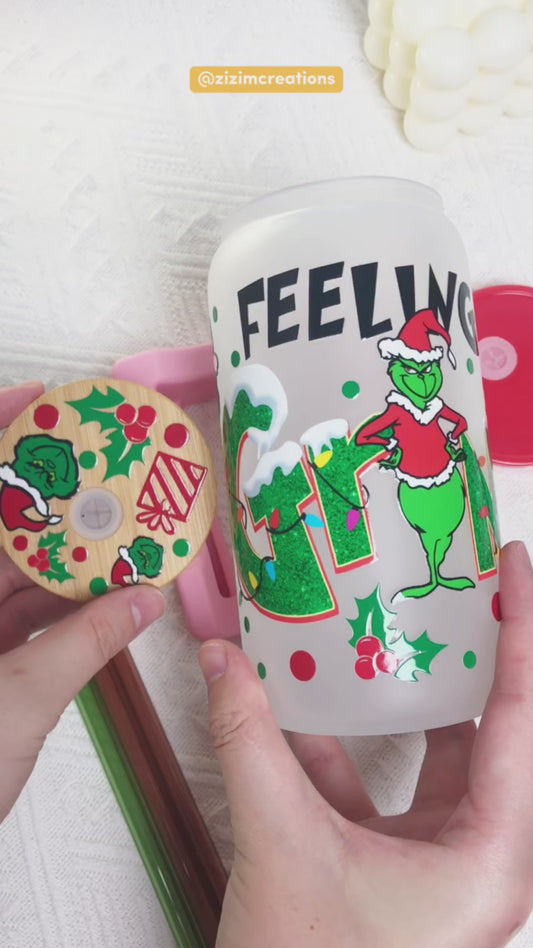
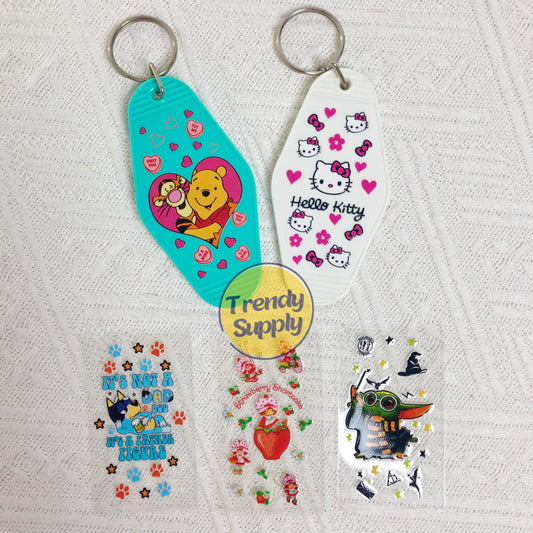
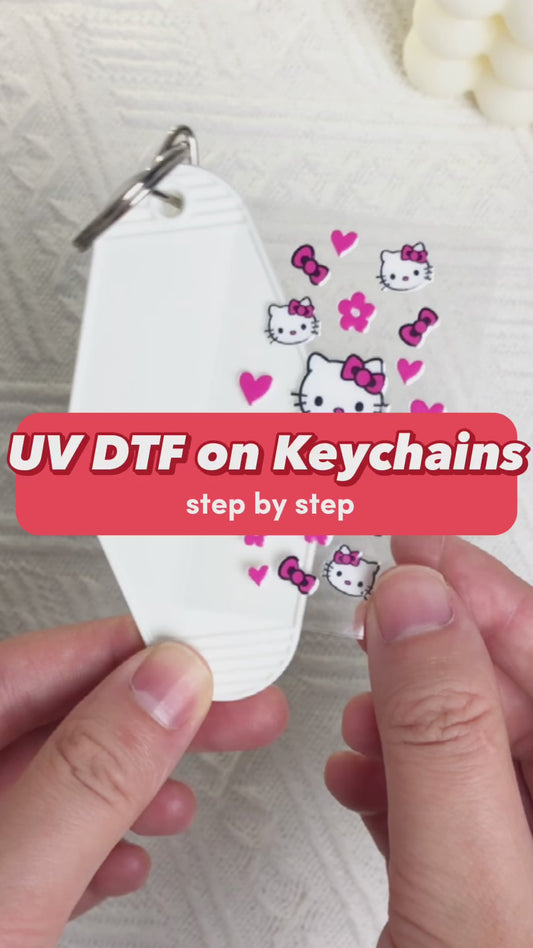
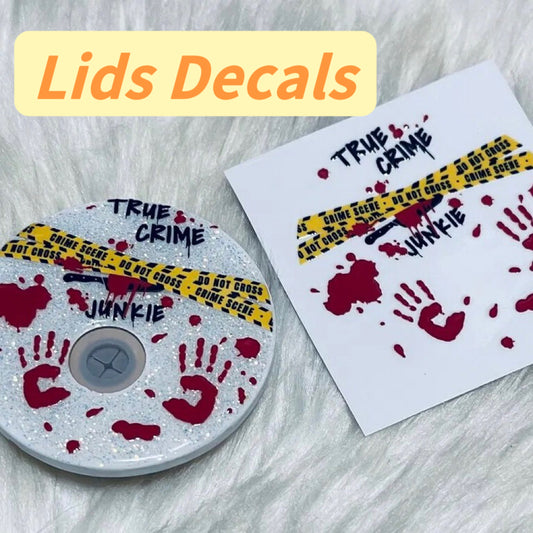
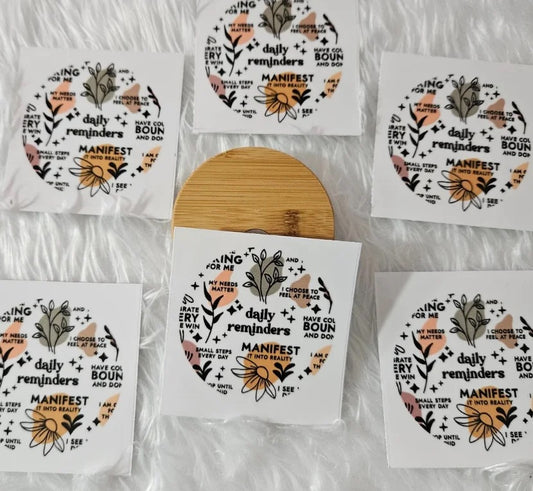
UV DTF cup wraps have become a buzzword in the world of custom drinkware, offering an innovative and easy way to create personalized designs. The UV Direct-to-Film (DTF) printing market is experiencing significant growth, with projections indicating a market value of $1.7 billion by 2026. This surge is driven by the demand for customization and eco-friendly solutions, making UV DTF cup wraps increasingly popular among crafters and businesses. In this comprehensive guide, we'll explore what UV DTF cup wraps are, why they've gained popularity, and provide step-by-step instructions on creating, applying, and designing your own wraps.

What Are UV DTF Cup Wraps?
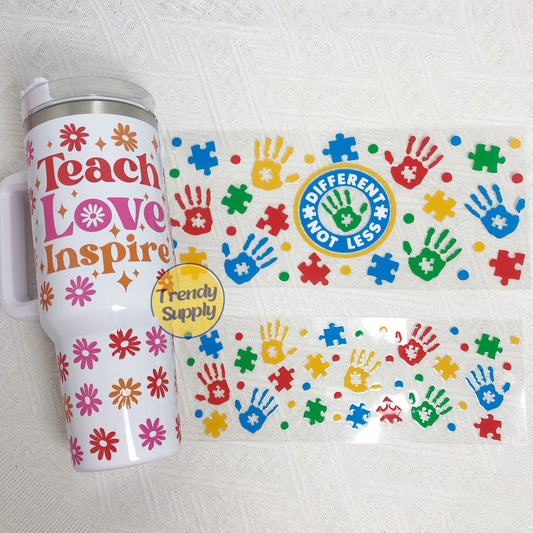
UV DTF cup wraps are a type of adhesive film designed to transfer high-quality, durable designs onto drinkware such as cups, mugs, and tumblers. These wraps are created using UV printing technology, which cures the design onto a transparent film. The result is a vibrant, scratch-resistant design that can adhere seamlessly to curved surfaces.
UV DTF wraps are often favored for their ease of use, precision, and ability to produce stunning visuals, even on textured or irregular surfaces.

Why Are UV DTF Cup Wraps So Popular?
UV DTF cup wraps have become a favorite among crafters and businesses alike. Here’s why:
Ease of Application
Unlike traditional methods like sublimation, UV DTF wraps are incredibly easy to apply. They don’t require specialized equipment like heat presses, making them accessible even to beginners.
Durability
UV DTF designs are built to last. They’re scratch-resistant, waterproof, and UV-resistant, ensuring they stay vibrant and intact even with frequent use.
Customizability
With UV DTF technology, you can create intricate, vibrant, and high-quality designs. Whether it’s for personal use or commercial projects, the possibilities are endless.
Versatility
One of the biggest advantages of UV DTF wraps is their ability to adhere to various surfaces, including plastic, glass, and metal. This makes them a versatile choice for all kinds of drinkware.
How to Make UV DTF Cup Wraps

Creating UV DTF cup wraps may seem daunting at first, but the process is straightforward with the right tools and steps. Here's a detailed guide:
1. Prepare the Design
The first step is to create your artwork.
-
Use graphic design software such as Adobe Illustrator, Photoshop, or Canva to design your wrap.
-
Make sure your design is tailored to the exact dimensions of the cup you plan to wrap.
-
Incorporate high-resolution images, vibrant colors, and any text or logos you want to include.
Pro Tip: If you’re unsure about dimensions, many design tools offer templates that can help you match your cup size perfectly.
2. Print the Design
Once your design is ready, it’s time to print.
-
Use a UV DTF printer to print the design onto a specialized adhesive film.
-
During the printing process, UV light cures the ink immediately, ensuring the design is vibrant and durable.
-
Check your printer settings to ensure the best print quality, and use a test print to confirm alignment.
Pro Tip: Use high-quality UV inks for the most vivid and long-lasting results.
3. Add the Adhesive Layer
After printing, an adhesive layer is applied to the design.
-
Carefully place the adhesive film over the printed design to ensure proper sticking during application.
-
Smooth out any air bubbles to avoid imperfections in the final wrap.
Pro Tip: Use a squeegee or flat edge to press the adhesive layer firmly onto the design.
4. Cut to Size
The final step is to cut the wrap to the correct size.
-
Use a cutting machine, such as a Cricut or Silhouette, for precise cuts.
-
If you don’t have a cutting machine, sharp scissors or a craft knife will also work.
-
Trim the edges neatly to ensure the wrap fits your cup seamlessly.
Pro Tip: Leave a slight margin for overlap when cutting to ensure a perfect fit during application.
By following these steps, you’ll create professional-quality UV DTF cup wraps that are ready to transform ordinary drinkware into something extraordinary!
How to Apply UV DTF Cup Wraps: Step by Step

Applying UV DTF cup wraps is a straightforward process, even for beginners. Follow these detailed steps for a smooth and professional finish:
1. Clean the Surface
Proper preparation is key to ensuring your wrap adheres securely.
-
Use alcohol wipes or a lint-free cloth dampened with rubbing alcohol to clean the surface of the cup.
-
Remove any dust, grease, or residue that might interfere with adhesion.
-
Let the surface dry completely before moving on to the next step.
Pro Tip: Avoid touching the cleaned surface with your fingers to prevent oils from transferring.
2. Peel the Backing
Once the cup is clean, prepare the wrap for application.
-
Gently peel the protective backing from the adhesive layer of your UV DTF wrap.
-
Be careful not to touch the adhesive side to avoid leaving fingerprints or reducing stickiness.
Pro Tip: Start peeling from one corner and work your way across to maintain control.
3. Align the Wrap
Positioning the wrap correctly is crucial for a flawless finish.
-
Align the wrap with the edge of your cup, ensuring it is straight and properly positioned.
-
Start from one side and press lightly to secure the edge in place.
-
Slowly smooth the wrap onto the cup, working your way around to prevent wrinkles or air bubbles.
Pro Tip: Use a piece of masking tape as a guide for straight placement if needed.
4. Press Firmly
Once the wrap is aligned, it’s time to secure it fully.
-
Use a squeegee, credit card, or your fingers to press the wrap firmly onto the surface.
-
Start from the center and work outward, applying even pressure to ensure a tight bond.
-
Pay special attention to the edges to prevent lifting.
Pro Tip: If bubbles appear, gently lift the wrap and reapply while smoothing it out.
5. Remove the Carrier Film
The final step is to reveal your beautifully applied design.
-
Slowly peel off the top carrier film, starting from one corner.
-
Ensure the design remains firmly adhered to the cup as you remove the film.
-
Inspect the wrap for any imperfections and smooth out any areas as needed.
Pro Tip: Peel the carrier film at a 45-degree angle for the best results.
By following these steps, you’ll achieve a professional-looking finish that transforms your drinkware into a personalized masterpiece!
How to Create Your Own UV DTF Cup Wraps
Designing your own UV DTF cup wraps is a fun and creative process that lets you bring your ideas to life. Whether you’re using professional tools like Photoshop or beginner-friendly platforms like Canva, the possibilities are endless. Here’s how to get started:
1. Choose Your Design Tool
You can use various tools and platforms to design your wraps, depending on your skill level and preferences:
-
Adobe Photoshop or Illustrator: Perfect for advanced users who want full control over every detail of their design. These tools allow for precise edits, layering, and effects.
-
Canva: Ideal for beginners or anyone looking for an easy-to-use platform. Canva offers drag-and-drop functionality and thousands of templates to choose from.
-
Other Design Tools: Platforms like CorelDRAW, Procreate, or even Microsoft PowerPoint can be used for creating custom designs.
2. Create a Custom Design in Canva

Canva is a beginner-friendly tool that simplifies the design process. Here’s how you can use it to create your UV DTF cup wraps:
-
Set Up Your Canvas:
-
Open Canva and click on "Create a Design".
-
Choose a custom size that matches the dimensions of your cup wrap. For example, you might use 8 inches x 3.5 inches for a standard tumbler.
-
Choose a Template or Start from Scratch:
-
Browse Canva’s library of templates and select one that fits your theme, such as floral, abstract, or seasonal designs.
-
Alternatively, start with a blank canvas and build your design from scratch.
-
Add High-Quality Images:
-
Upload your own images or choose from Canva’s extensive library of free and premium stock photos.
-
Make sure all images are high resolution to ensure crisp and vibrant prints.
-
Incorporate Text and Personalization:
-
Use Canva’s text tool to add names, quotes, or custom messages.
-
Experiment with fonts, colors, and effects to make your text stand out.
-
Use Design Elements:
-
Add icons, shapes, or decorative elements from Canva’s library to enhance your design.
-
Use layers and transparency effects to create depth and interest.
-
Download Your Design:
-
Once your design is complete, download it in high-resolution PNG format to ensure the best printing quality.
3. Choose Your Theme
Decide on a theme that matches your style or occasion.
-
For example, you can create seasonal designs for holidays, floral patterns for a feminine touch, or bold abstracts for a modern vibe.
4. Use High-Quality Images
The quality of your design is heavily dependent on the images you use.
-
Always choose high-resolution images to ensure they print sharply and vibrantly on your wrap.
-
Avoid low-resolution images, as they can appear pixelated or blurry when printed.
5. Experiment with Text
Personalized text can make your UV DTF wraps truly unique.
-
Add names, special dates, or motivational quotes to your design.
-
Play with font styles, sizes, and colors to match your overall theme.
6. Leverage Design Templates
If you’re unsure where to start, take advantage of design templates available on platforms like Canva.
- Templates provide a ready-made layout that you can customize with your own images, text, and colors.
- They’re a great time-saver and help ensure your design is well-balanced and professional-looking.
By following these steps, you can create stunning UV DTF cup wraps that reflect your creativity and style, whether you’re crafting for fun, gifts, or business purposes!
Frequently Asked Questions About UV DTF Cup Wraps
1. Are UV DTF cup wraps dishwasher safe?
Yes, most UV DTF wraps are dishwasher safe, but handwashing is recommended for longevity.
2. Can UV DTF wraps be removed?
Yes, UV DTF wraps can be peeled off, but the process may require some effort and can leave adhesive residue.
3. What materials can UV DTF wraps be applied to?
UV DTF wraps work on a variety of surfaces, including glass, plastic, and metal.
4. Do I need special equipment to use UV DTF wraps?
Aside from a UV DTF printer for creating the wraps, no additional equipment is necessary for application.
Conclusion: Start Customizing with UV DTF Cup Wraps Today!
UV DTF cup wraps are a game-changer for anyone looking to personalize their drinkware effortlessly. With their durability, vibrant designs, and user-friendly application process, they’re perfect for both beginners and experienced crafters.
Ready to start your UV DTF journey? Explore our high-quality UV DTF cups wraps collection here and give UV DTF cup wraps a try today!


