Sublimation on vinyl has become an increasingly popular method for creating vibrant, long-lasting designs on various surfaces. By combining the power of sublimation printing and heat transfer vinyl, you can achieve stunning results that are durable and visually striking. In this article, we will explore the step-by-step process of sublimating on vinyl, enabling you to unleash your creativity and produce impressive designs.
Understanding Sublimation on Vinyl
Sublimation is a printing technique in which heat and pressure are used to transfer dye onto a material, enabling it to permeate the surface and become a permanent part of the substrate. Vinyl, known for its versatility and longevity, serves as an excellent canvas for sublimation printing.
Step 1: Preparing Your Design

Before diving into the sublimation process, it is important to create or select a design suitable for vinyl sublimation. Ensure that your design is in a compatible file format, such as PNG or JPEG, and that it is set to mirror image to achieve the desired orientation upon transfer.
Step 2: Choosing the Right Vinyl
Not all vinyl is suitable for sublimation. When selecting your vinyl, opt for heat transfer vinyl (HTV) specifically designed for sublimation. This type of vinyl has a special coating that allows the sublimation ink to bond effectively, resulting in vibrant, durable prints.
Step 3: Preparing the Vinyl
Clean the vinyl thoroughly to remove any dust, oils, or debris that may interfere with the sublimation process. Ensure that the vinyl is free of wrinkles or creases, as they can impact the final print quality. Trim the vinyl to your desired size and shape.
Step 4: Printing the Design
Load your design into a sublimation printer and print it onto sublimation paper using sublimation ink. Remember to set the printer settings according to the manufacturer's guidelines, including paper type and quality. Printing in mirror image mode is crucial to achieve the correct orientation upon transfer.
Step 5: Transferring the Design
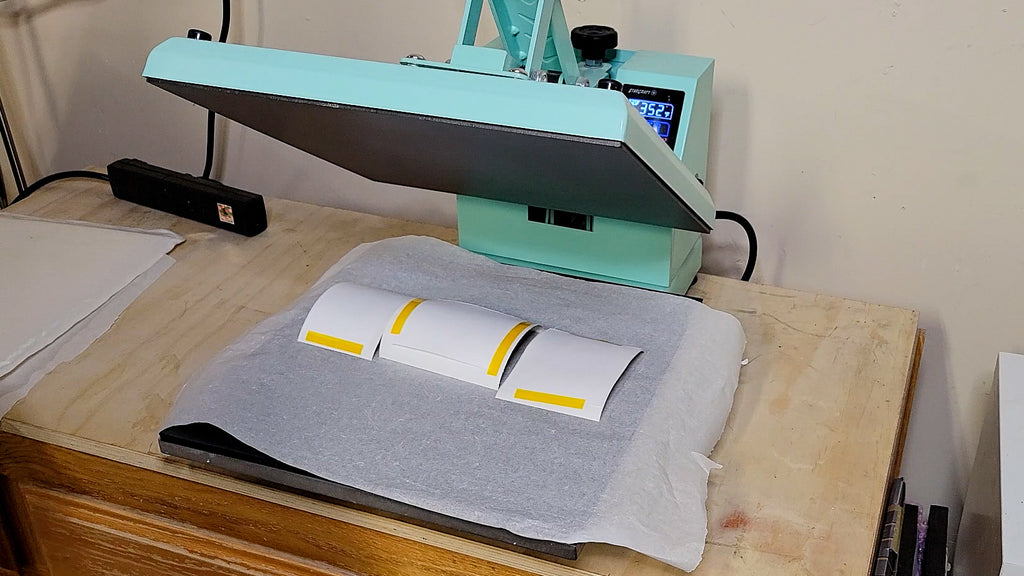
Place the sublimation paper with the printed design face down onto the prepared vinyl. Secure the paper and vinyl together using heat-resistant tape, ensuring that the design is properly aligned. Preheat your heat press according to the instructions provided by the vinyl manufacturer.
Step 6: Applying Heat and Pressure
Carefully position the vinyl with the attached design onto the lower platen of the heat press. Close the press, applying firm pressure and ensure that the temperature and time settings are appropriate for the vinyl and sublimation ink being used. Typically, a temperature range of 375-400°F (190-205°C) and a pressing time of 30-60 seconds are recommended.
Step 7: Peeling and Finishing

Once the designated pressing time has elapsed, open the heat press and carefully remove the sublimation paper. Be cautious as both the vinyl and paper will be extremely hot. Allow the vinyl to cool completely before peeling off the sublimation paper to reveal your vivid, sublimated design.
Conclusion
Sublimation on vinyl opens up unlimited creative possibilities for individuals seeking to produce high-quality, personalized products. By following these steps, you can master the art of sublimation on vinyl and create stunning designs on various surfaces. Remember to experiment, have fun, and let your imagination soar as you explore this innovative printing technique. Let sublimation on vinyl transform your creations into vibrant, long-lasting works of art.
Now you’ve got the idea, here are some supplies for a head start.


