Skip to content

How to apply UV DTF cup wraps is a skill that unlocks a world of personalization, especially in the booming market for customized drinkware, valued at over $55 billion globally in 2035, according to a recent report. These pre-printed decals offer a simple yet effective way to add vibrant and durable designs to your favorite cups without the need for heat. This easy guide will walk you through the straightforward steps to achieve flawless application and elevate your customization game.

What are UV DTF Cup Wraps?
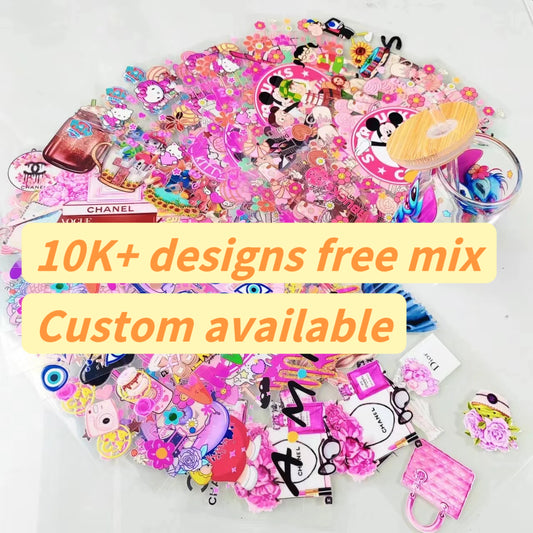
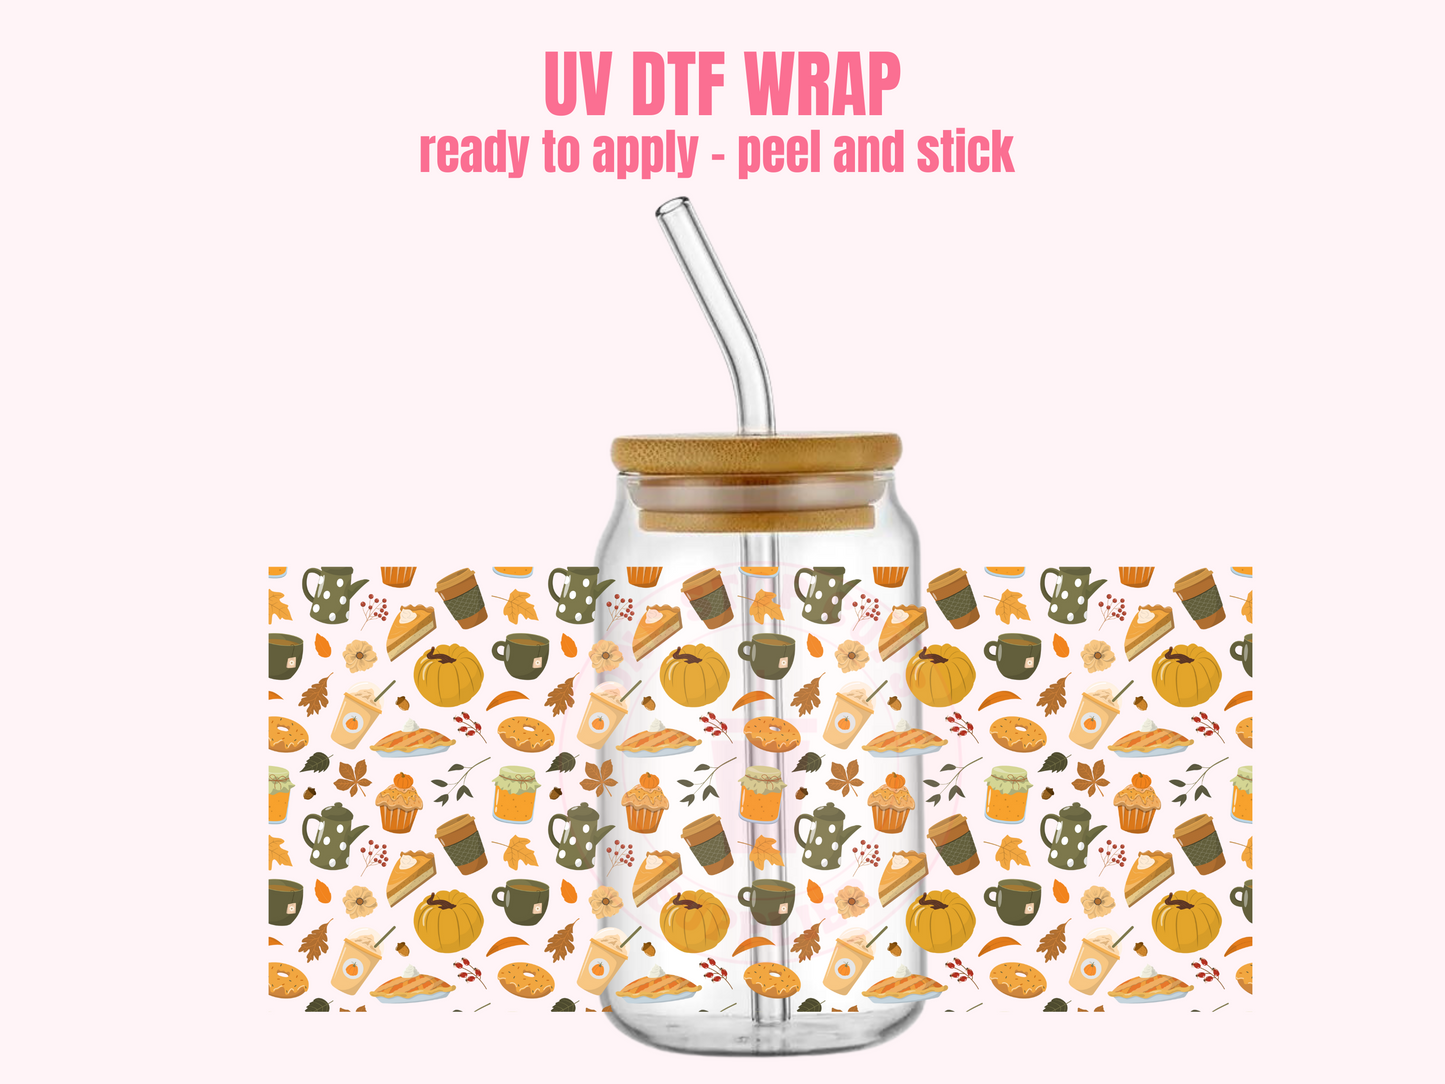
UV DTF (Ultraviolet Direct-to-Film) cup wraps are pre-printed decals created using UV-curable inks on a special film. These wraps feature vibrant, detailed designs that, once cured, can be easily transferred onto the surface of cups and tumblers. The UV curing process ensures a durable, scratch-resistant, and waterproof finish.

Why are UV DTF Cup Wraps so popular?
Durability and Longevity
-
Scratch-Resistant: The UV-cured ink creates a tough layer that resists scratches and scuffs from daily use.
-
Waterproof: Once applied, the wraps are waterproof, making them ideal for drinkware that needs to be washed.
-
Fade-Resistant: The vibrant colors of UV DTF prints resist fading, ensuring your designs stay bright over time.
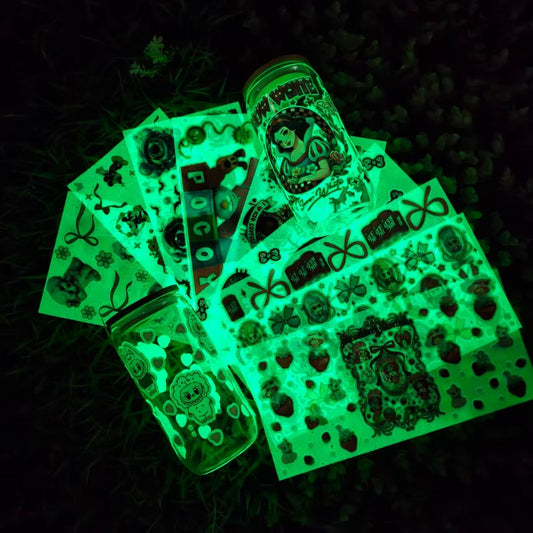
High-Quality and Vibrant Designs
-
Full-Color Printing: UV DTF allows for intricate, full-color designs with excellent detail and color saturation.
-
Glossy Finish: The cured ink often provides a glossy finish, enhancing the visual appeal of the designs.
-
Seamless Look: When applied correctly, UV DTF wraps can appear as if the design was directly printed onto the cup.
Easy Application
-
No Heat Press Required: Unlike HTV (Heat Transfer Vinyl), UV DTF wraps typically do not require a heat press for application, making the process simpler.
-
Quick and Efficient: Applying a UV DTF wrap is a relatively quick and straightforward process.
-
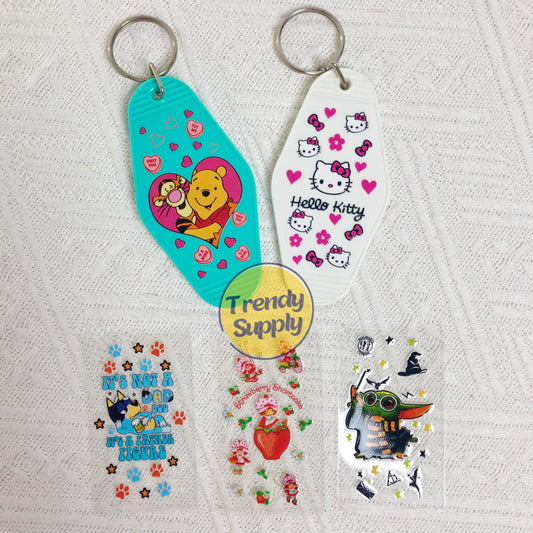
Versatile Surfaces: They can be applied to various smooth, non-porous surfaces beyond just cups, including glass, metal, and some plastics.
How to make UV DTF Cup Wraps?
Understanding the process behind making UV DTF cup wraps can provide valuable insights into their quality and durability. Here's a breakdown of the key steps:
Design Creation
-
Graphic Design Software: The process begins with creating a design using graphic design software such as Adobe Illustrator or Photoshop.
-
High Resolution: The design is typically created at a high resolution to ensure sharp and detailed prints.
-
Color Separation: If the design involves multiple colors, the graphic designer may separate the design into color layers for optimal printing.

UV Printing
-
Specialized Printer: A specialized UV printer is used to print the design onto a DTF film.
-
UV-Curable Inks: The printer uses UV-curable inks that solidify when exposed to ultraviolet light.
-
Multiple Layers: Depending on the design, the printer may print multiple layers of ink to achieve the desired color vibrancy and opacity.
Curing
-
UV Light Exposure: After printing, the film is exposed to UV light to cure the inks.
-
Solidification: The UV light causes the inks to solidify, creating a durable and tactile design on the film.
-
Protective Layer: Some UV DTF films include a protective layer that is cured along with the inks to enhance scratch resistance.
Adhesive Layer
-
Adhesive Application: An adhesive layer is often applied during the printing process or as a separate step.
-
Transfer Facilitation: The adhesive layer facilitates the transfer of the design from the film to the cup surface.
-
Strong Bond: The adhesive is formulated to create a strong and lasting bond between the design and the cup.
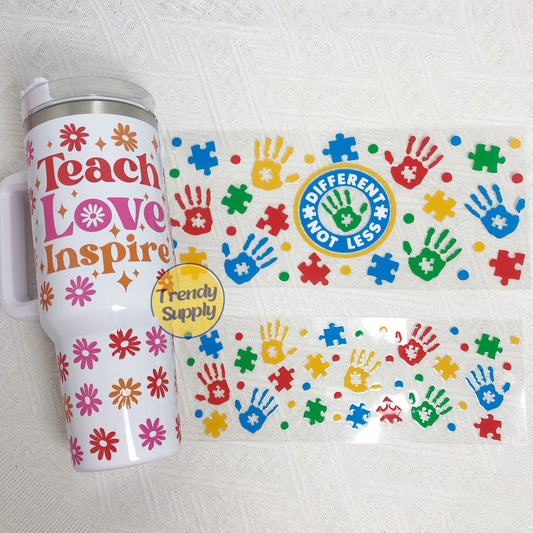
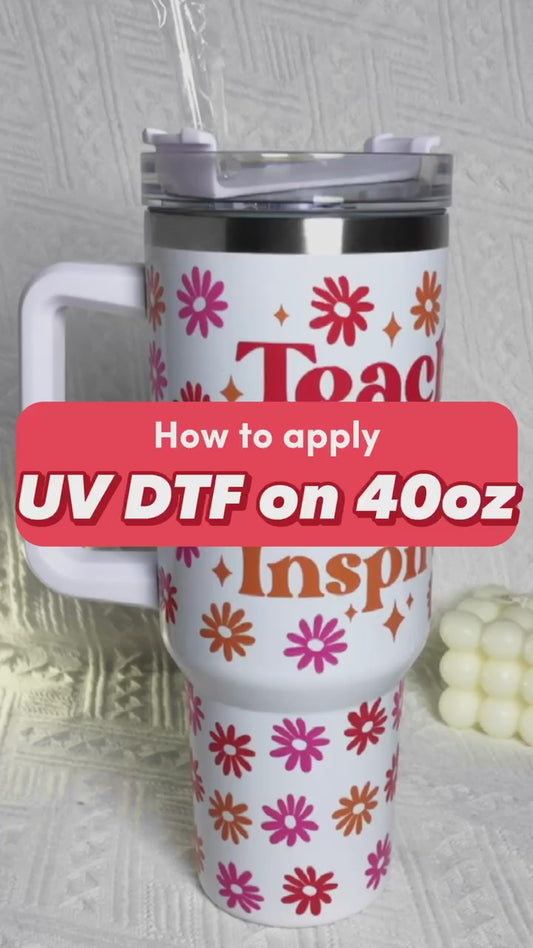
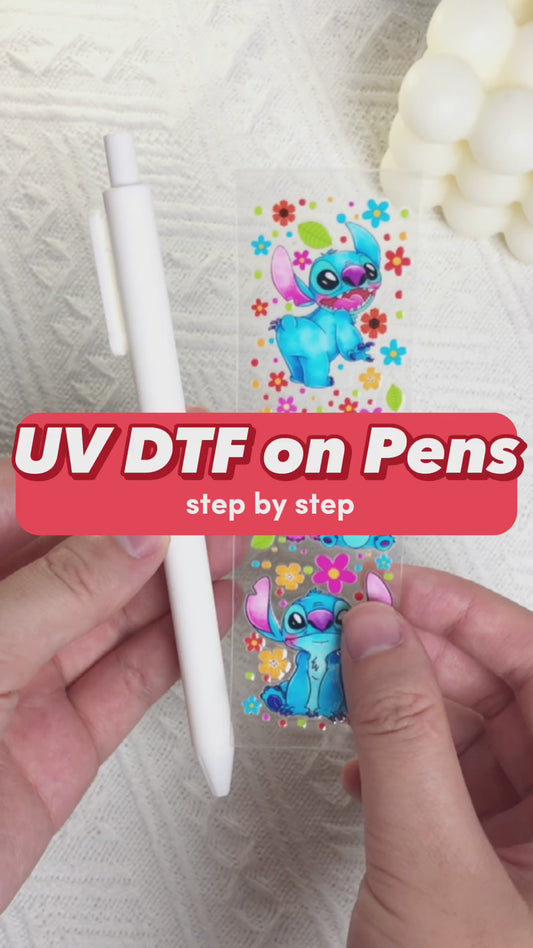
How to apply UV DTF Cup Wraps?
Prepare Your Cup
-
Clean Thoroughly: Ensure your cup is clean, dry, and free of any dust, oils, or residue.
-
Isopropyl Alcohol: Wipe the cup down with isopropyl alcohol and a lint-free cloth for best results. This removes any substances that could interfere with adhesion.
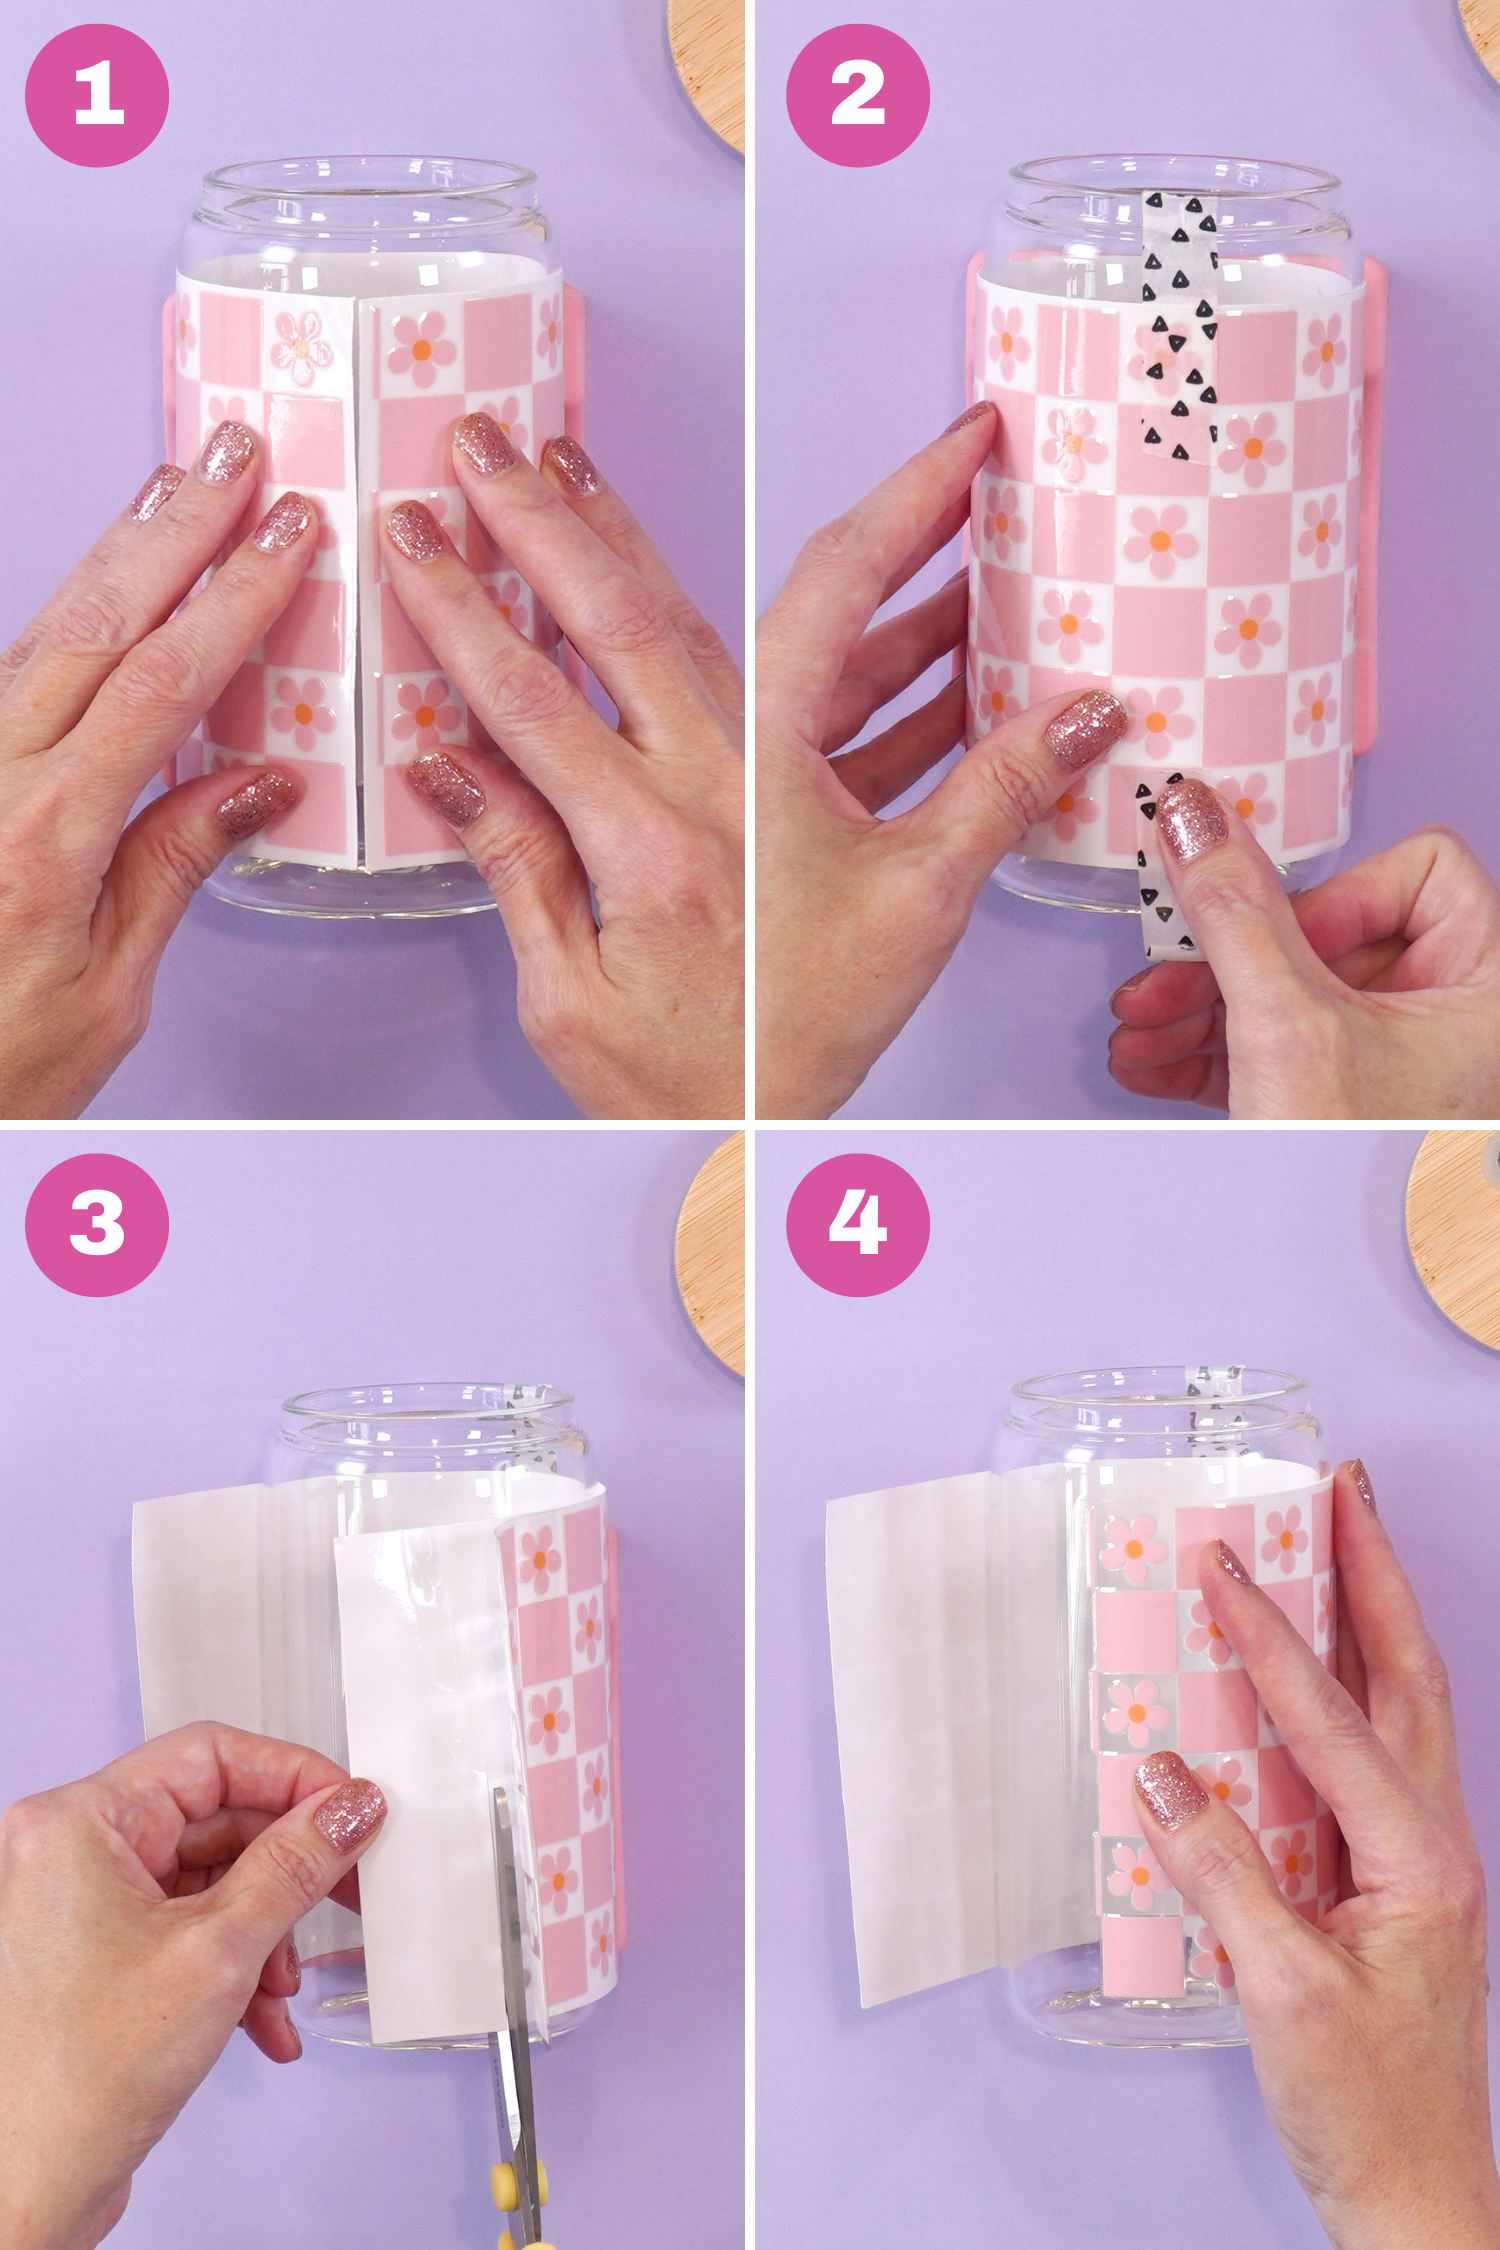
Position the Wrap
-
Peel Carefully: Carefully peel the clear carrier film (the top layer with the design) away from the backing paper.
-
Avoid Touching Adhesive: Be mindful not to touch the adhesive side of the design to prevent contamination.
-
Align Precisely: Position the sticky side of the design onto your cup where you want it to be applied. Take your time to ensure the alignment is correct, as the adhesive is strong once it makes contact.
Apply Pressure
-
Firm Pressing: Once positioned, firmly press the design onto the cup.
-
Center Outwards: Start from the center and work your way outwards, using your fingers or a squeegee.
-
Smooth Out Bubbles: Smooth out any air bubbles or wrinkles as you apply pressure.
-
Even Application: Apply even pressure across the entire design to ensure consistent adhesion.
Rub Thoroughly
-
Complete Adhesion: Rub the entire design firmly to ensure good adhesion to the cup surface.
-
Edge Attention: Pay extra attention to the edges and any intricate details of the design, ensuring they are firmly pressed down.
Peel Off the Carrier Film
-
Slow Removal: Slowly and carefully peel away the clear carrier film.
-
Smooth Motion: Start from one edge and peel smoothly, keeping the film close to the cup surface.
-
Check for Lifting: If any part of the design lifts with the carrier film, stop peeling and rub that area again before continuing.
Final Check
-
Inspect Thoroughly: Once the carrier film is completely removed, inspect the design to ensure all parts have adhered correctly.
-
Secure Edges: Rub any edges or corners that may not be fully stuck down, ensuring a secure and lasting bond.
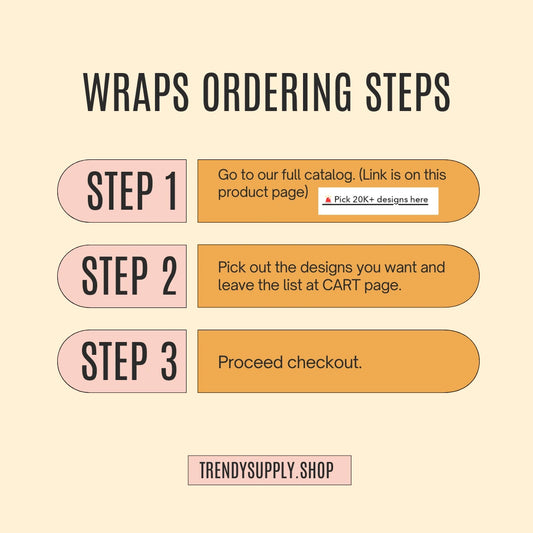
How to order wholesale UV DTF Cup Wraps? Step by step
Pick out the designs you want
-
Browse the supplier's website or catalog and select the desired UV DTF cup wrap designs and quantities.
Place the order on our website
-
Add the selected items to your cart and proceed to the checkout process. Fill in your shipping and billing information.
Printing and fast shipping
-
Once your order is confirmed, the supplier will print your chosen designs and ship them to you. Delivery times will vary depending on the supplier and your location.
Frequently asked questions about UV DTF Cup Wraps
Are UV DTF cup wraps dishwasher safe?
-
While UV DTF wraps are durable, it's generally recommended to hand wash cups with applied wraps to prolong their lifespan. Harsh chemicals and high temperatures in dishwashers can potentially damage the design over time.
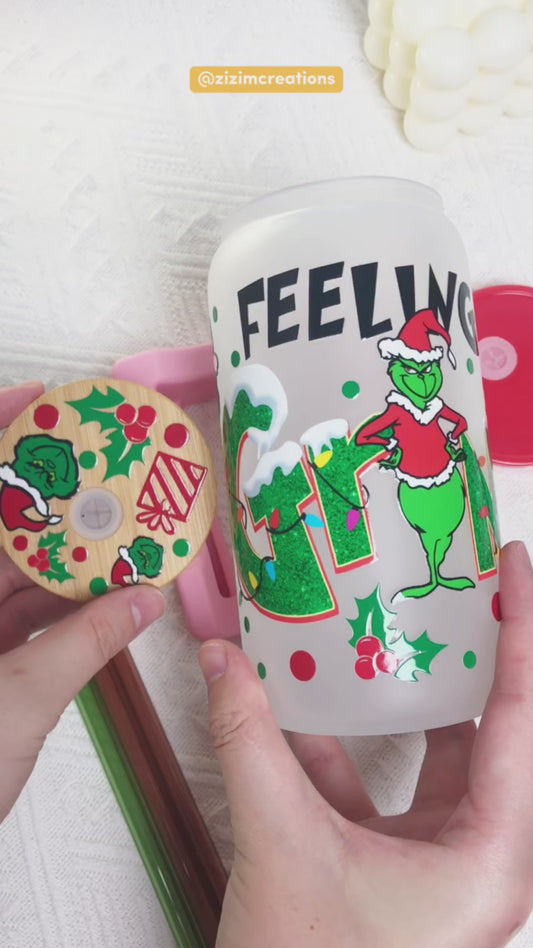
What surfaces do UV DTF cup wraps adhere to best?
-
UV DTF wraps adhere best to smooth, non-porous surfaces such as glass, metal, ceramic, and some hard plastics. They may not adhere well to textured or flexible surfaces.
Can I remove UV DTF cup wraps once applied?
-
UV DTF wraps are designed for permanent adhesion. While you might be able to scrape them off, it can be difficult and may potentially damage the cup's surface.
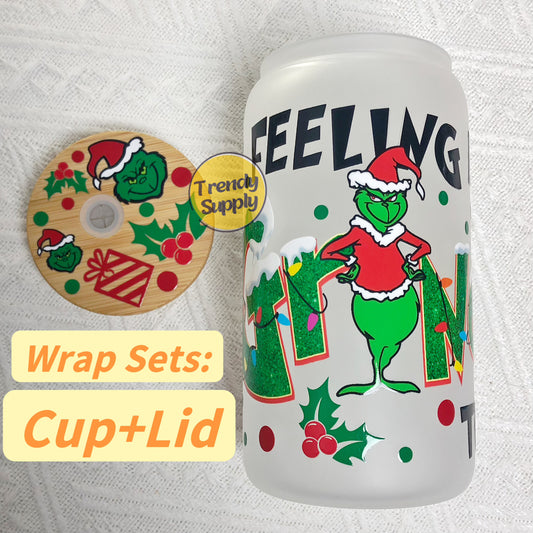
What size wraps do I need for different cups?
-
Wrap sizes vary depending on the size and shape of the cup. Suppliers often provide dimensions for their wraps. Measure your cup to ensure you choose a wrap that will fit appropriately.
Apply Like a Pro: Unleash Your Creativity with UV DTF Cup Wraps!
Mastering the application of UV DTF cup wraps is a simple yet powerful way to personalize your drinkware and other smooth surfaces. With these easy steps, you'll be creating professional-looking custom items in no time.
Ready to get started? Explore our range of UV DTF cup wraps and elevate your customization game today!